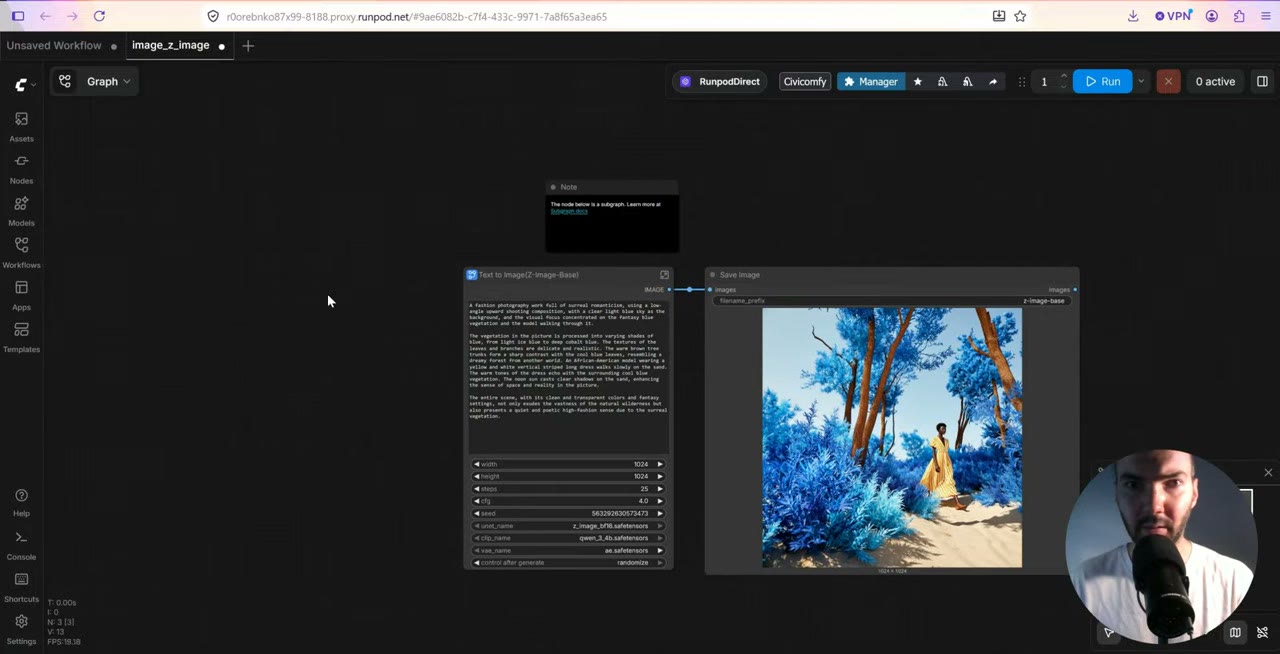
Status: Tested on RunPod. I built and ran this setup on RunPod, on a budget RTX A4500 and on an RTX 5090.
This setup generates images in bulk, from a list of hundreds of prompts, at a cost of well under a cent each. It runs Z-Image Turbo in ComfyUI on a rented GPU, so it’s private: nothing goes through a hosted image service, and there’s no content filter beyond your own.
There are two ways to get there. The quick way is my RunPod template and workflow, which install everything for you; they’re on my Patreon. The other is to build it yourself from ComfyUI’s official template, which is what most of this guide walks through.
In short
- Model: Z-Image Turbo, an 11 GB image model, with Qwen 3 as its text encoder.
- Speed: about 2 seconds per image on an RTX 5090, about 20 seconds on a budget GPU.
- Cost: roughly $0.0007–0.0014 per image in GPU time (see the table below).
- Batch: hundreds of prompts, one per line, through my free Prompt Cycler node.
- Delivery: a local save node downloads every image to your computer as it’s made.
What it costs per image
The cost per image is the GPU’s hourly price divided by how many images it makes in an hour. Using the times I measured and RunPod’s October 2026 prices:
| GPU | Price | Time per image | GPU cost per image |
|---|---|---|---|
| Budget card (RTX A4500 class) | ~$0.25/hr | ~20 s | ~$0.0014 |
| RTX 5090 | $1.19/hr | ~2 s | ~$0.0007 |
These are estimates from my timings at good quality; the first image of a session is slower while the models load. Storage is a separate cost: a 50 GB network volume is $3.50 a month.
The faster GPU is the cheaper one per image, because it finishes so much sooner. A budget card is still the right choice for setting up and testing.
Network volume or volume disk?
When you deploy a pod, RunPod offers two kinds of storage:
- A volume disk belongs to one pod and its GPU. You can’t move it to a different GPU, and it bills while the pod is stopped.
- A network volume lives in a data center and attaches to any pod there. It keeps your models indefinitely, so you download them once.
I prefer a network volume. The first setup downloads about 11 GB of models plus custom nodes, which took about 15 minutes; with a network volume that only happens once. My introduction to RunPod explains volumes and pods in detail.
Set it up yourself
1. Create the volume and deploy
- Go to Storage → New network volume. Pick the data center with the most GPUs available and set 50 GB.
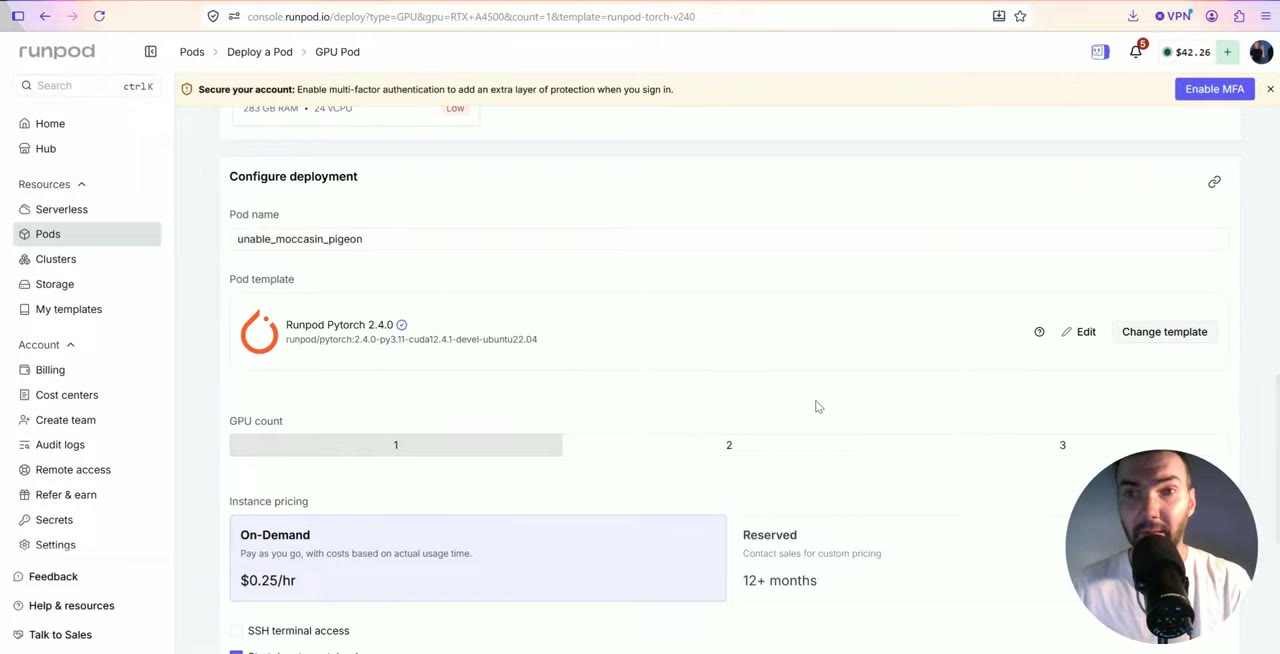
- Click Configure pod with volume and choose the cheapest GPU for setup. I used an RTX A4500.
- Change the template to the official ComfyUI template. There’s also a CUDA 13 version for newer Blackwell cards like the RTX 5090; Z-Image doesn’t need one, so the regular version is fine.
- Deploy on demand and follow the logs. The first boot installs ComfyUI, which takes a few minutes.
2. Load the Z-Image template and download the models
Open ComfyUI, go to Templates, search for Z-Image and pick the text-to-image template. It will offer to download the missing models. Use the blue download button inside the dialog, which downloads to the pod’s volume. The other download link saves the files to your own computer’s downloads folder, which is not what you want here.
Two models download:
- Z-Image Turbo, the diffusion model that makes the image (about 11 GB).
- Qwen 3 4B, used as the text encoder that turns your prompt into guidance.
On the pod, the 11 GB model downloaded from Hugging Face at about 250 MB/s. Reload ComfyUI when it finishes.
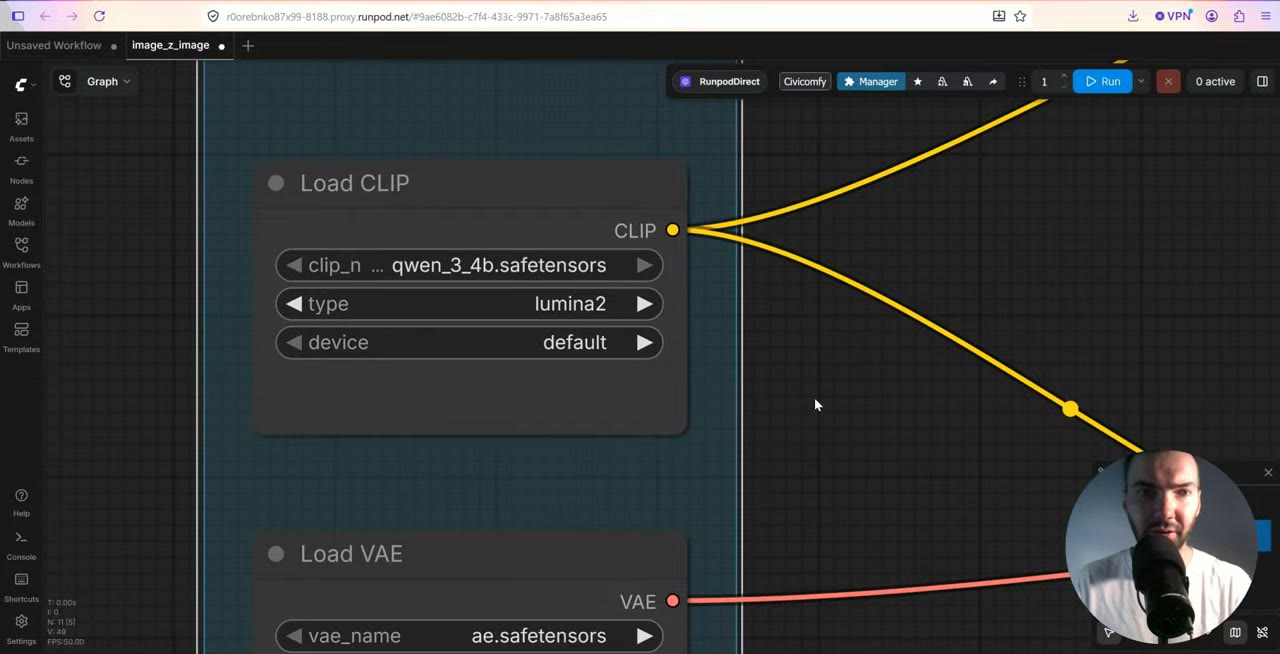
lumina2, plus the Z-Image VAE.3. Know which settings to touch
The template comes wrapped in a subgraph. Right-click and unpack it to see the nodes. On the left are the three models: the diffusion model, the text encoder and the VAE, which converts between the model’s latent space and pixels.
Most settings should stay as they are:
- Negative prompt: I leave it empty. Z-Image follows detailed positive prompts well.
- KSampler: the template’s values already give good images. Raising the guidance (CFG) to 8 burns the image; more steps can add a little quality, but the defaults are usually enough.
- Image size is the one you’ll change. Don’t go above 2K by 2K: the model was trained around that size. For bigger images, upscale in a separate workflow.
The first run took a minute or two while the models loaded. After that, about 20 seconds per image on the budget GPU. Sometimes a fresh pod doesn’t start the first run: cancel and run again, and if that fails, restart ComfyUI from the pod page.
Add the prompt list
To run hundreds of prompts, I use my own Prompt Cycler node. It’s free, but it isn’t in the ComfyUI Manager’s list, so you install it from GitHub:
- Open JupyterLab from the pod’s Connect menu and go to
runpod-slim/ComfyUI/custom_nodes. - Open a Terminal there and paste:
git clone https://github.com/tenitsky/tenitsky-prompt-cycler-simple.git && cd tenitsky-prompt-cycler-simple && pip install -r requirements.txt && pkill -f main.pyThe last command restarts ComfyUI so it picks up the node. Reload the page.
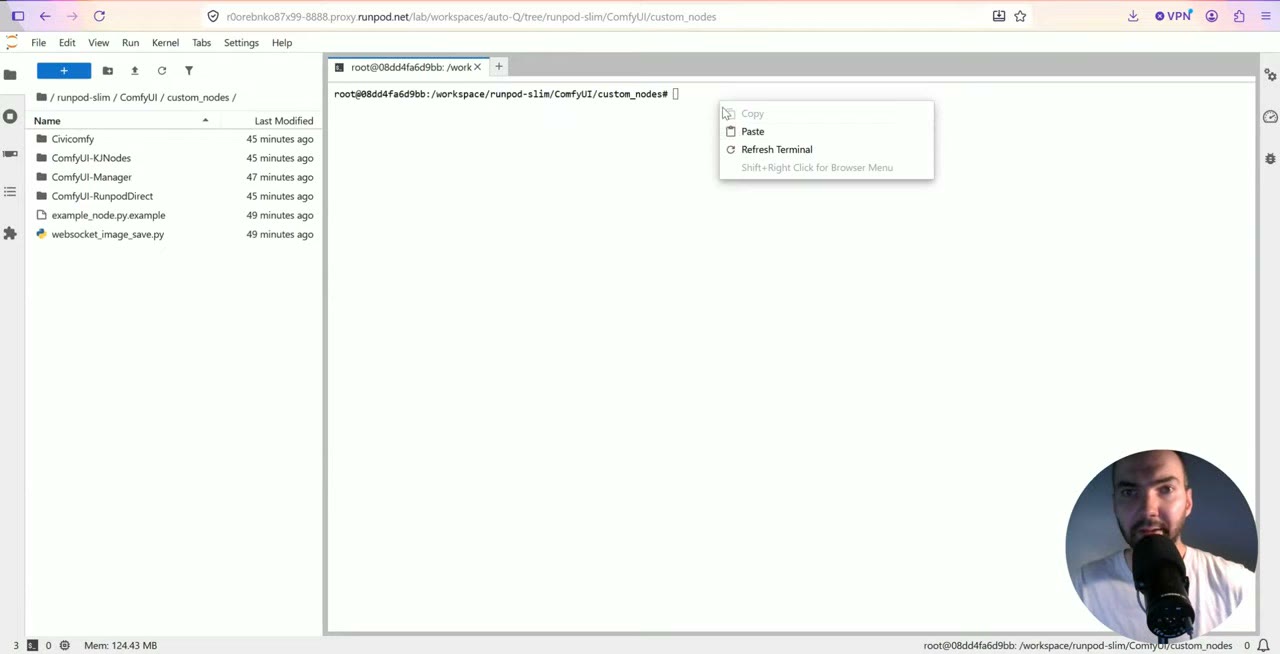
custom_nodes folder.Now double-click the canvas, search for Prompt Cycler and add it. Connect its output to the text input of the CLIP Text Encode node, which then takes its text from the cycler.
The node holds one prompt per line, and a line can be thousands of characters long. Each run takes the next line. Blank lines between prompts don’t hurt. To start a new batch from the top, use reset_cycle.
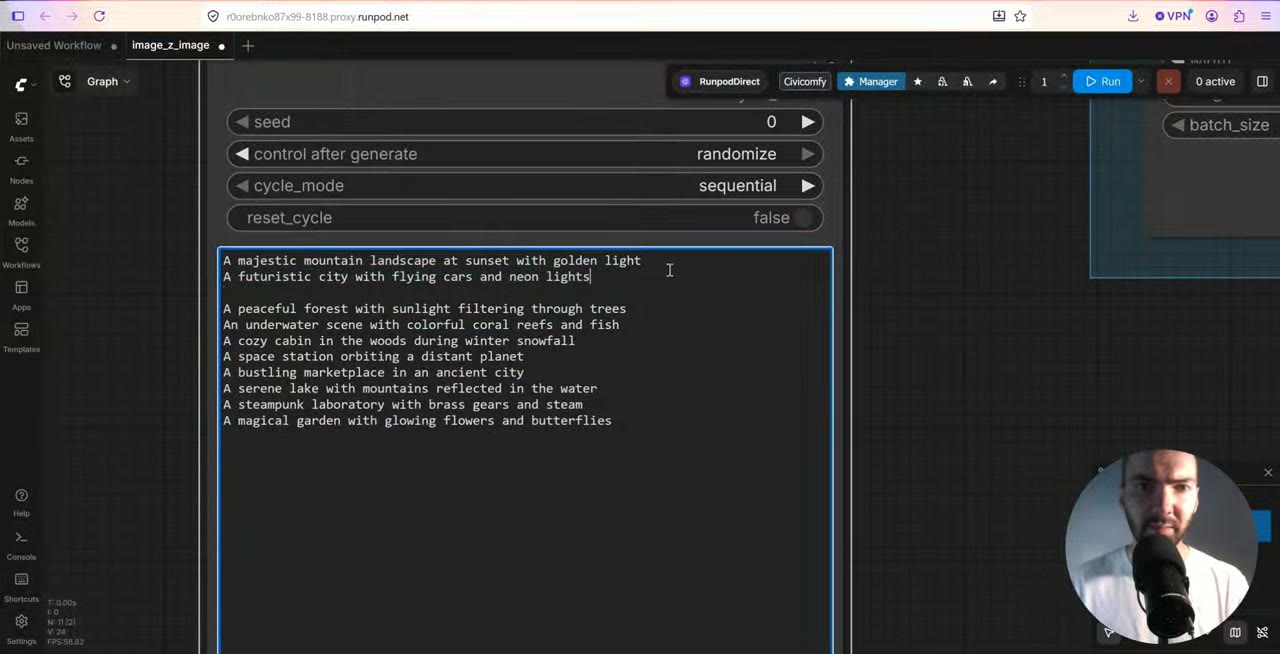
To write the list, ask any chatbot (ChatGPT, Gemini or Claude) for one prompt per line on your theme.
Save images straight to your computer
The normal Save Image node writes to the pod’s ComfyUI/output folder, so you’d have to download every image through JupyterLab. Instead, add a node that saves locally:
- Open the ComfyUI Manager → Custom Nodes Manager and search for “local save”.
- Install the local save image node, restart ComfyUI and reload the page.
- Add the Local Save Image node and connect the image to it.
Now every image is saved on the pod and downloaded to your browser’s downloads folder. When the browser asks whether the site may download multiple files, allow it.
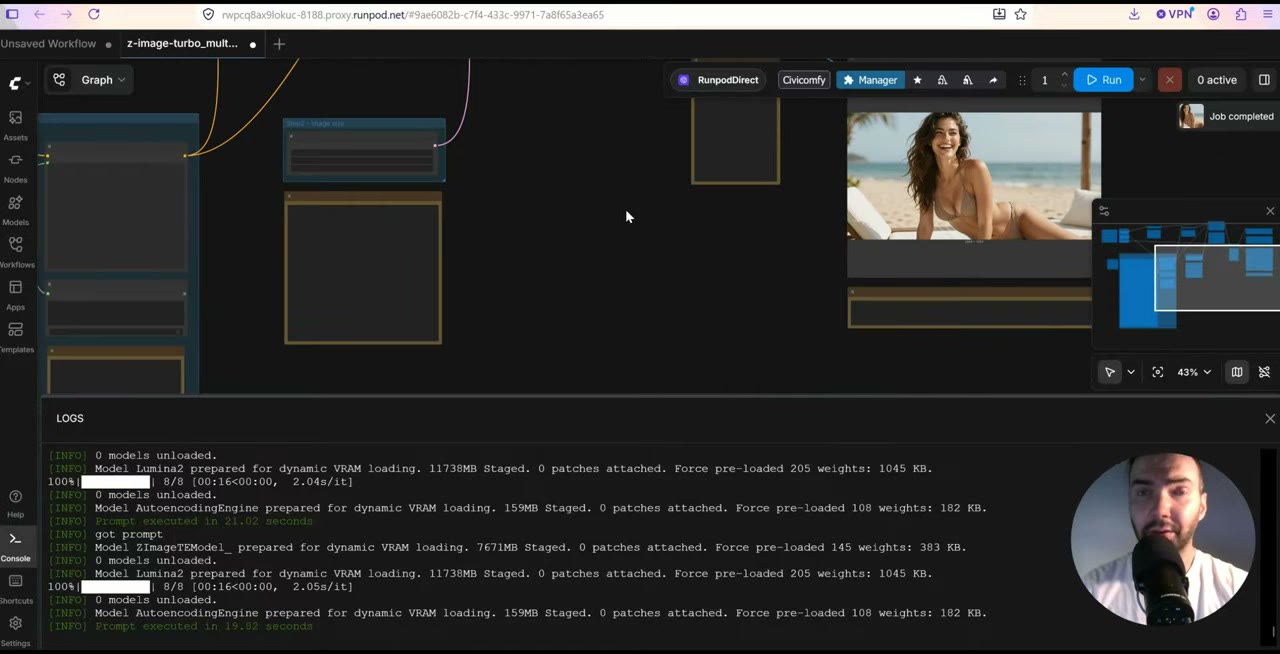
Then queue the batch with Run (Instant) and let it work through the list.
Where this goes next
Images are the cheap end of what cloud GPUs can do. The same setup, a network volume with models and a pod you rent by the hour, is what makes video generation affordable, and that’s where it pays off most. For a faster start with Z-Image, see Z-Image Turbo on RunPod; for a whole set of images in one trained style, see stylized game assets with Z-Image and Meshy.
If you don't have a RunPod account, my referral link gives new accounts that sign up with Google $5–$500 in credit after their first $10, and I get a small commission.
Watch the video version (14:39)
Everything above is in the video too, if you'd rather follow along on screen.
FAQ
How much does an AI image cost with Z-Image Turbo?
It depends on the GPU’s hourly price and speed. On an RTX 5090 ($1.19/hr) at about 2 seconds per image, that’s roughly $0.0007 per image. On a budget card at about $0.25/hr and 20 seconds per image, roughly $0.0014. Storage is extra.
What is the maximum resolution for Z-Image Turbo?
About 2K by 2K. The model was trained around that size; for bigger images, upscale with a separate workflow.
Why use a network volume instead of a volume disk?
A network volume keeps the 11 GB of models between sessions and works with any GPU in its data center. A volume disk is tied to one pod and its GPU, and still bills while the pod is stopped.
Why is the first image so slow?
The first run loads the models into memory, which took one to three minutes. Every image after that is much faster.

Anton Tenitsky is a 3D artist with 15+ years in computer graphics, working with Nickelodeon, Gameloft, Marvel Rivals and many other clients. More about me