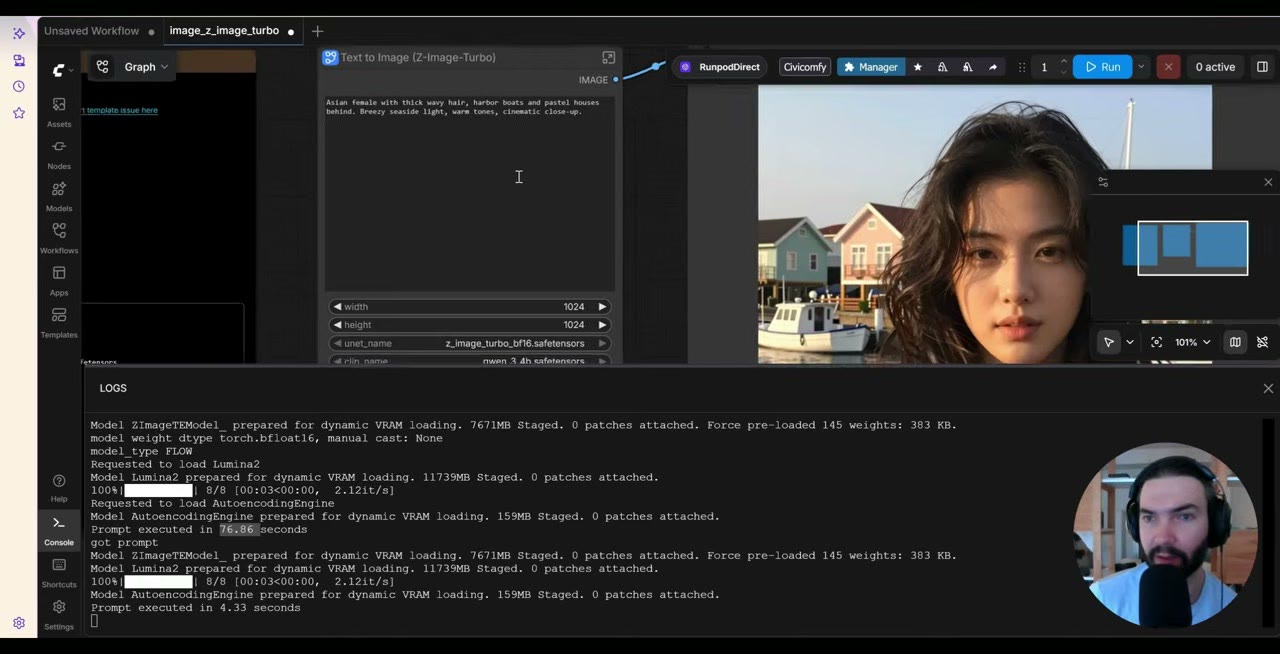
Z-Image Turbo is a small, fast image model, and that makes it one of the cheapest ways to run AI image generation in the cloud. This is the short version: from an empty RunPod account to your first image in ComfyUI in about four minutes of setup.
For running hundreds of prompts in a batch, see the follow-up, thousands of AI images for under $0.001 each.
In short
- Storage: a 50 GB network volume, so ComfyUI and the model are installed once.
- GPU: anything cheap with enough VRAM. I aimed for an L4 at about $0.39/hr.
- Template: the official ComfyUI template, then Z-Image Turbo from ComfyUI’s own templates.
- Speed: about four seconds per image once the model is loaded.
1. Create a network volume
Go to Storage → New network volume. Choose the data center with the most GPUs available; it gives you the best chance of getting the GPU you want later. Set the size to 50 GB. You can always make a volume bigger, but never smaller, so get it roughly right.
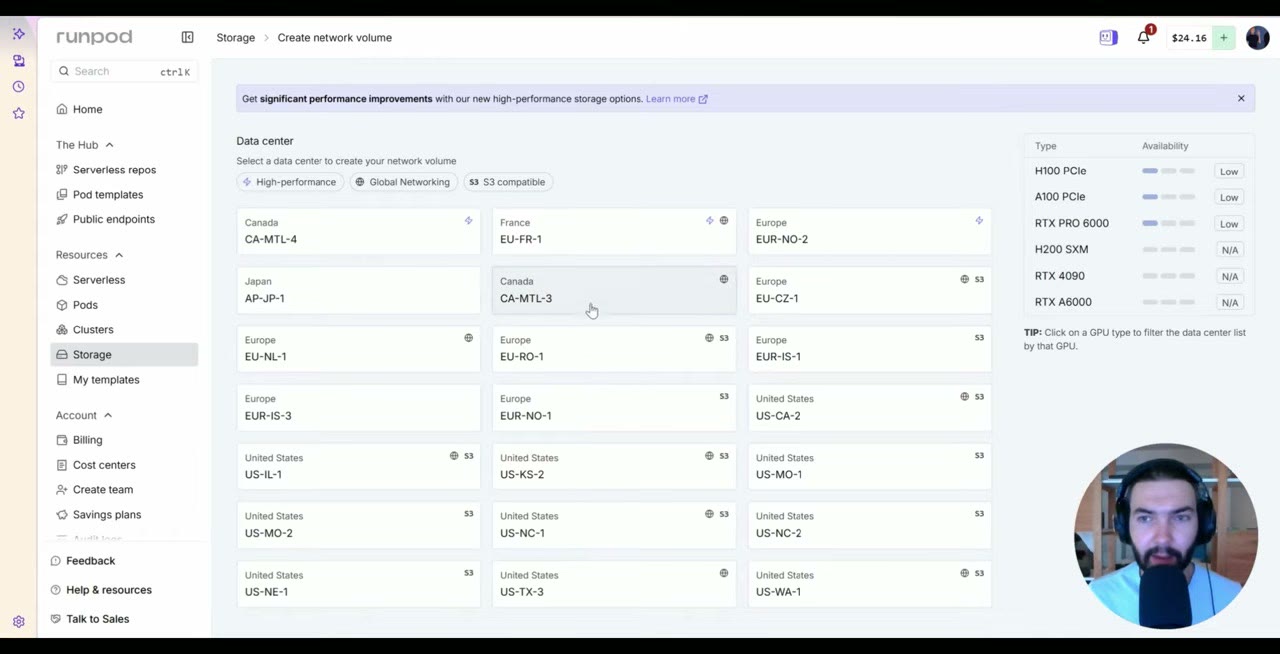
The volume bills across the month, and you can delete it any time. If you’re new to volumes and pods, my introduction to RunPod covers them properly.
2. Deploy a cheap GPU with the ComfyUI template
From Pods, select your volume and look for an available, cheap GPU with enough VRAM. I went for an L4, at about $0.39 an hour. Change the template to ComfyUI official (latest), a clean ComfyUI install, and deploy on demand.
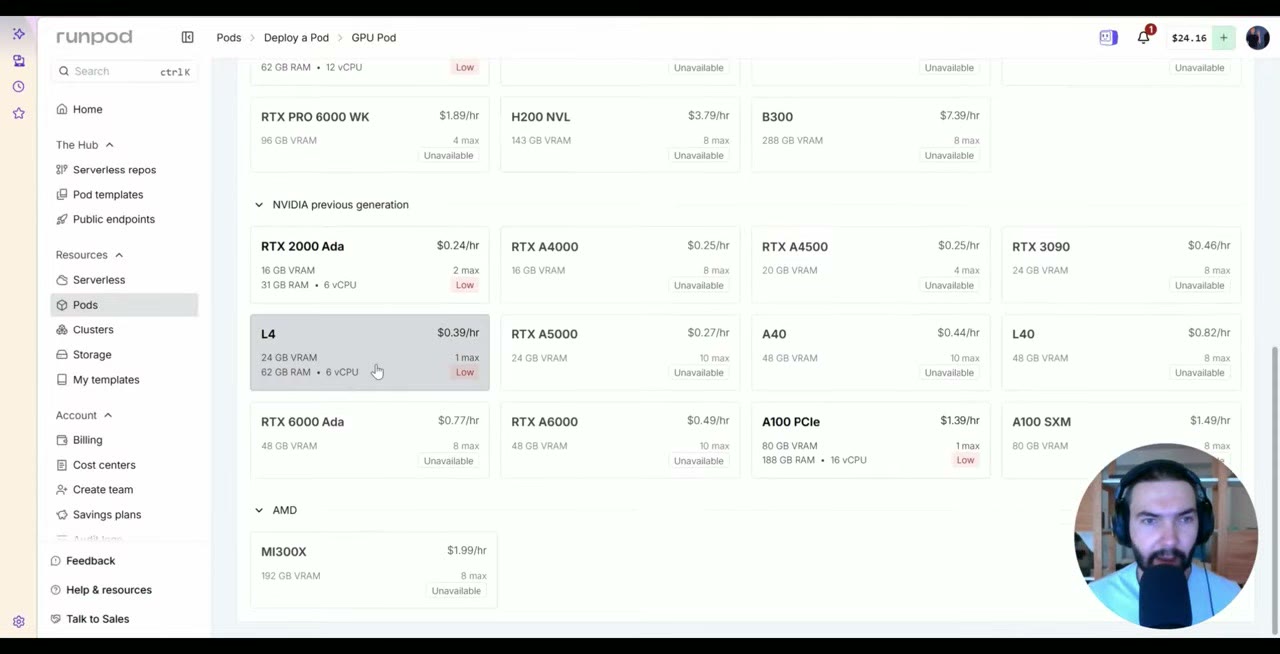
If the GPU is gone: in the video, the L4 was taken by the time I clicked deploy, and RunPod said no instance was available. That happens. Go back, pick another GPU in the same data center as your volume, and deploy again. Don’t go big for this model: a B200 would work, but it’s overkill.
3. Wait for the install
The first boot installs ComfyUI and JupyterLab on your volume. It can take up to about ten minutes on a fresh volume; mine was ready in about four. After that, a new pod on the same volume starts in about a minute.
JupyterLab is the file browser: your images end up in ComfyUI’s output folder. If ComfyUI isn’t ready when the pod says it is, give it another minute.
4. Load Z-Image Turbo from ComfyUI’s templates
Open ComfyUI, go to Templates and pick Z-Image-Turbo Text to Image.
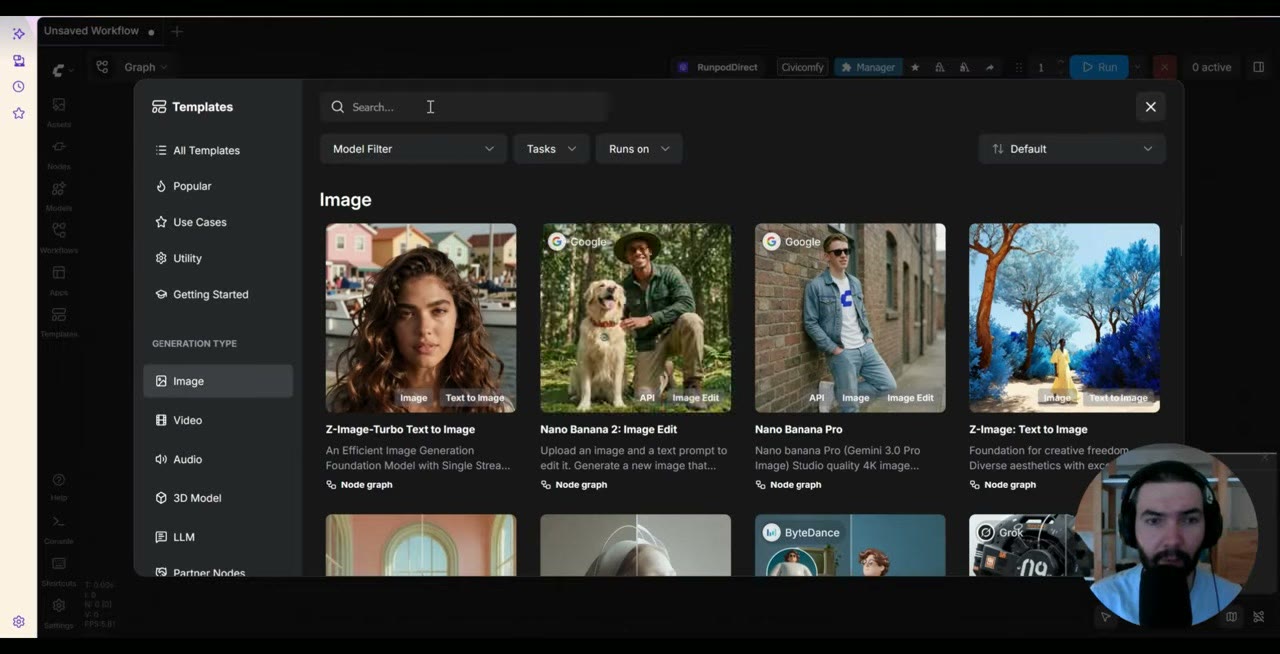
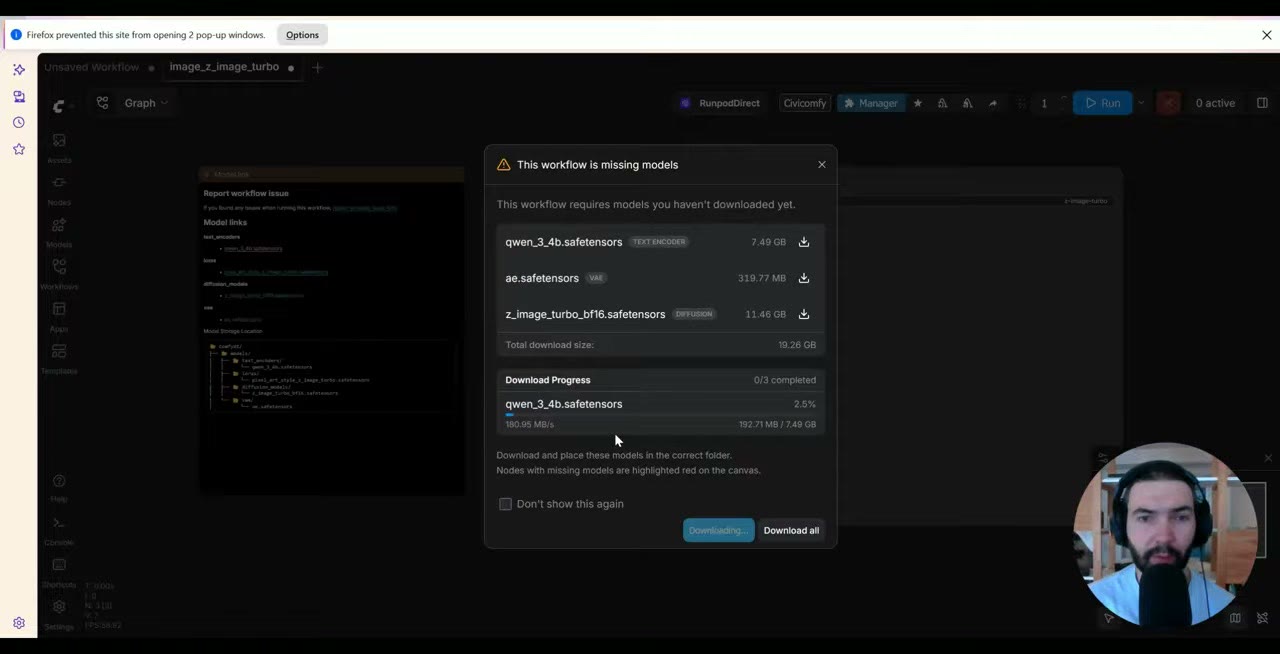
ComfyUI lists the three files the workflow needs: the Z-Image Turbo model, the Qwen 3 4B text encoder and the VAE. Download them to the pod with the button in the dialog. On the pod they came in at around 300 MB/s, so it takes about a minute. Then reload the page.
5. Generate
The template wraps its nodes in a subgraph to keep things simple. You don’t need to open it, but you can by double-clicking its corner icon. Type a prompt and run, with the console open.
The first image is slower because the model has to load. After that, an image took about four seconds.
When you’re done, stop the pod from the RunPod dashboard. Your images stay on the volume.
If you don't have a RunPod account yet, my referral link gives new accounts that sign up with Google $5–$500 in credit after their first $10, and I get a small commission.
Watch the video version (5:26)
Everything above is in the video too, if you'd rather follow along on screen.
FAQ
Which GPU should I use for Z-Image Turbo?
A cheap one with enough VRAM is fine. I aimed for an L4 at about $0.39/hr. A B200 would work but is overkill for this model.
What if the GPU I picked is no longer available?
Go back and pick another GPU in the same data center as your network volume. Availability changes minute to minute.
How fast is Z-Image Turbo?
After the first image, which loads the model, an image took about four seconds in my test.

Anton Tenitsky is a 3D artist with 15+ years in computer graphics, working with Nickelodeon, Gameloft, Marvel Rivals and many other clients. More about me