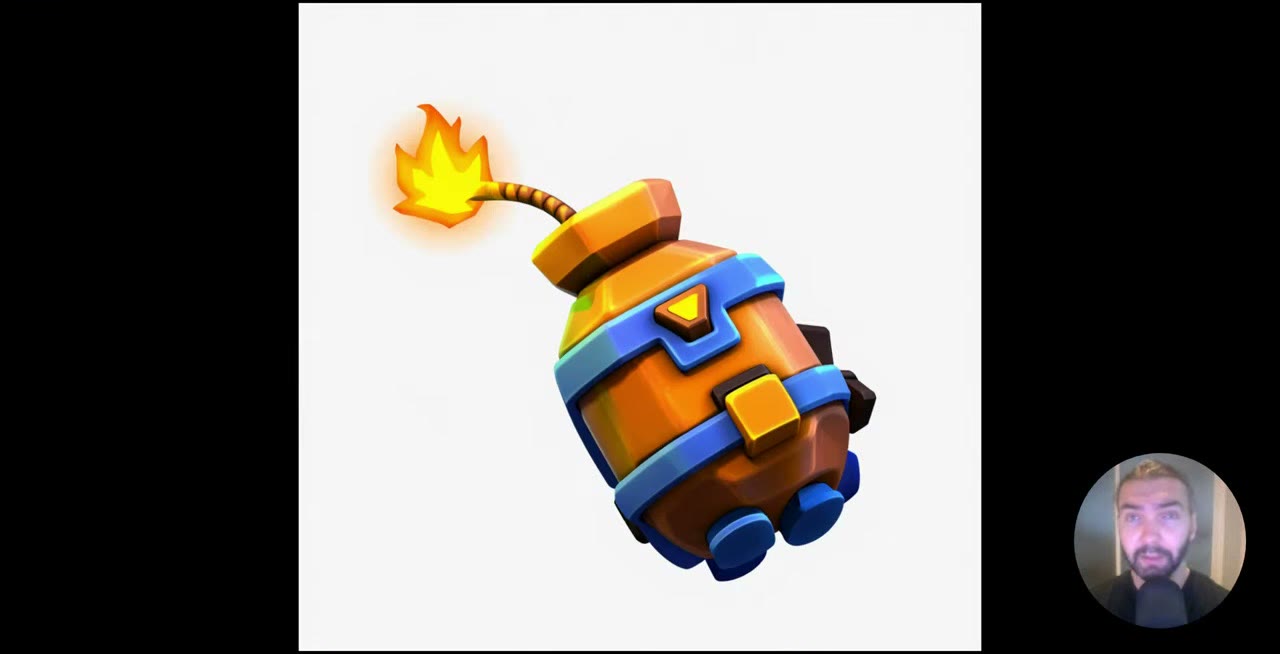
Status: Tested on RunPod. I ran single and batch generation with this template on an RTX 5090 on RunPod for the video.
This setup turns a folder of images into textured 3D models, one after another, with no clicking in between. It runs TRELLIS 2, Microsoft’s open-source image-to-3D model, released at the end of 2025, in ComfyUI.
It’s built for volume: 100, 200 or 300 models. If you only need one model, this is more setup than it’s worth.
In short
- Output: textured GLB models, not just grey meshes.
- Input: one object per image, on a clean white background. For characters, a T-pose with visible fingers.
- GPU: an RTX 4090 or 5090; I recommend the 5090.
- Key setting: the face count. 500,000 by default; 5,000 with a 1K texture still works for low-poly assets.
- First boot takes about 30 minutes, so this pays off for big batches.
Why TRELLIS 2
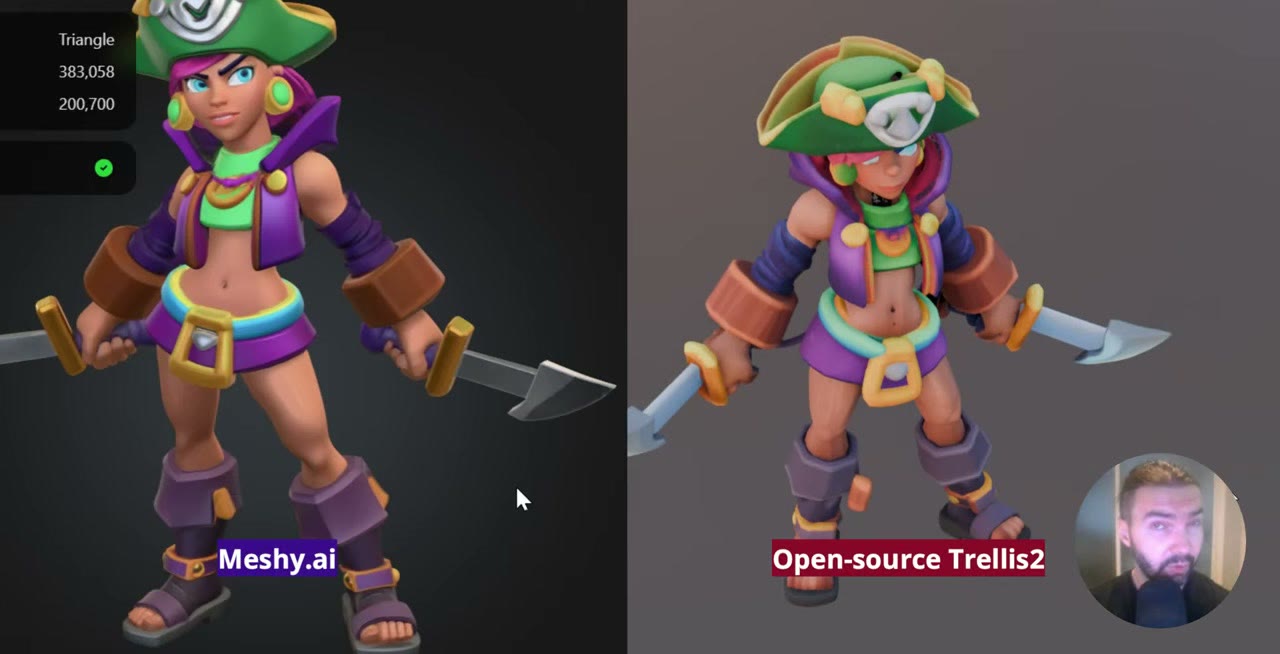
Most AI 3D models give you a grey mesh. That’s fine for 3D printing, but for games or anything else you want textured models, and TRELLIS 2 produces those.
Of the open-source models I tried, it gave the best results. Hunyuan3D 2.1 was a lot of pain to install, and I didn’t like its quality as much. To be fair, closed-source services like Meshy, Tripo and Hunyuan 3.5 still give better results. If you want open source, running on your own GPU or in the cloud, TRELLIS 2 is the one.
Prepare your images
TRELLIS 2 works from a single image of a single object, so the input matters:
- A clean white background. Black works too, but white is better. The workflow cuts the object out first, and a plain background makes that reliable.
- One object per image, fully in frame.
- For characters, a T-pose with hands and fingers clearly visible. Obscured hands are where the model struggles most.
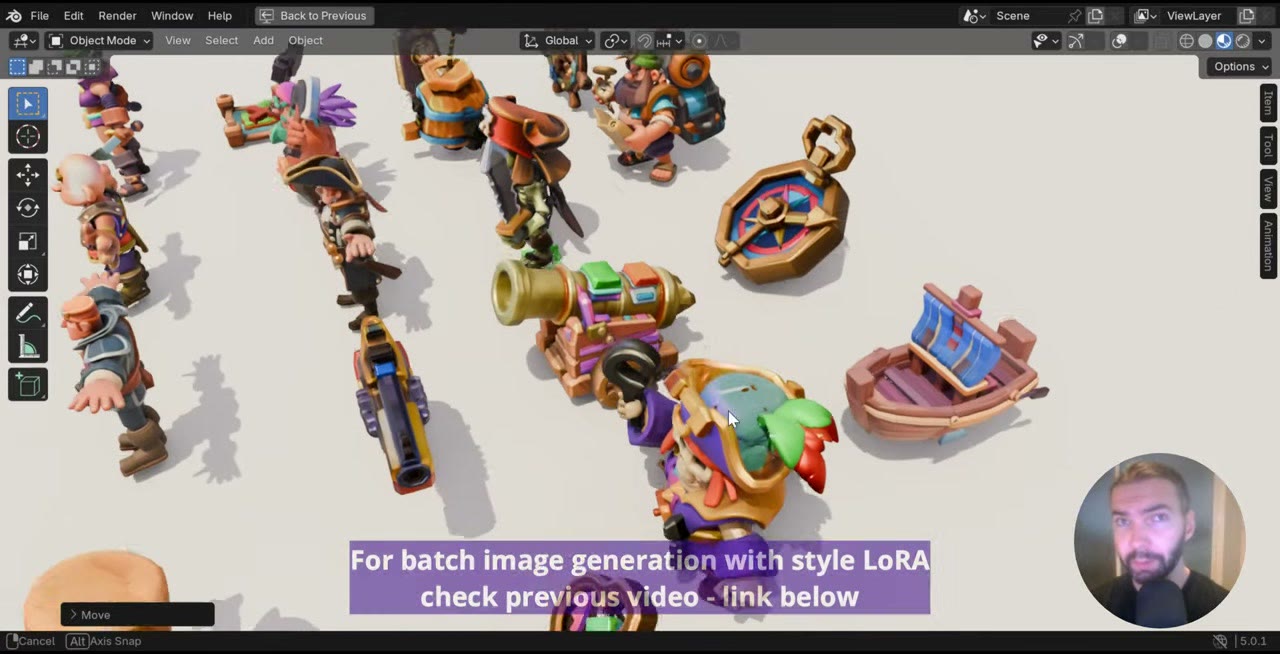
My input images were generated in one consistent style with a style LoRA. That’s a separate workflow, covered in stylized game assets with Z-Image and Meshy.
Set up
Locally: my setup script on GitHub lists everything TRELLIS 2 needs. Paste it into a chatbot like Claude and ask for the install commands for your ComfyUI; that’s how I set it up, though it took a lot of iterations. TRELLIS 2 isn’t the easiest model to install.
On RunPod (see my introduction to RunPod if you’re new to it):
- Create a network volume of about 100 GB, about $7 a month on standard storage and billed by the hour while it exists. It keeps the models and your settings between sessions.
- Deploy the template with the volume attached, on an RTX 4090 or 5090. I recommend the 5090. An H200 or B200 is faster still.
- Wait about 30 minutes. TRELLIS 2 is a heavy model with a lot to download. The pod may say “ready” well before it is; follow the logs, and refresh the page if the Connect buttons don’t update. Closing the browser tab doesn’t stop the pod.
When you’re done for the day, stop the pod so it stops billing.
How the pipeline works
The template installs two workflows: one for a single image, to test that everything runs, and one for a whole folder. Each node has a note explaining it; these are the steps.
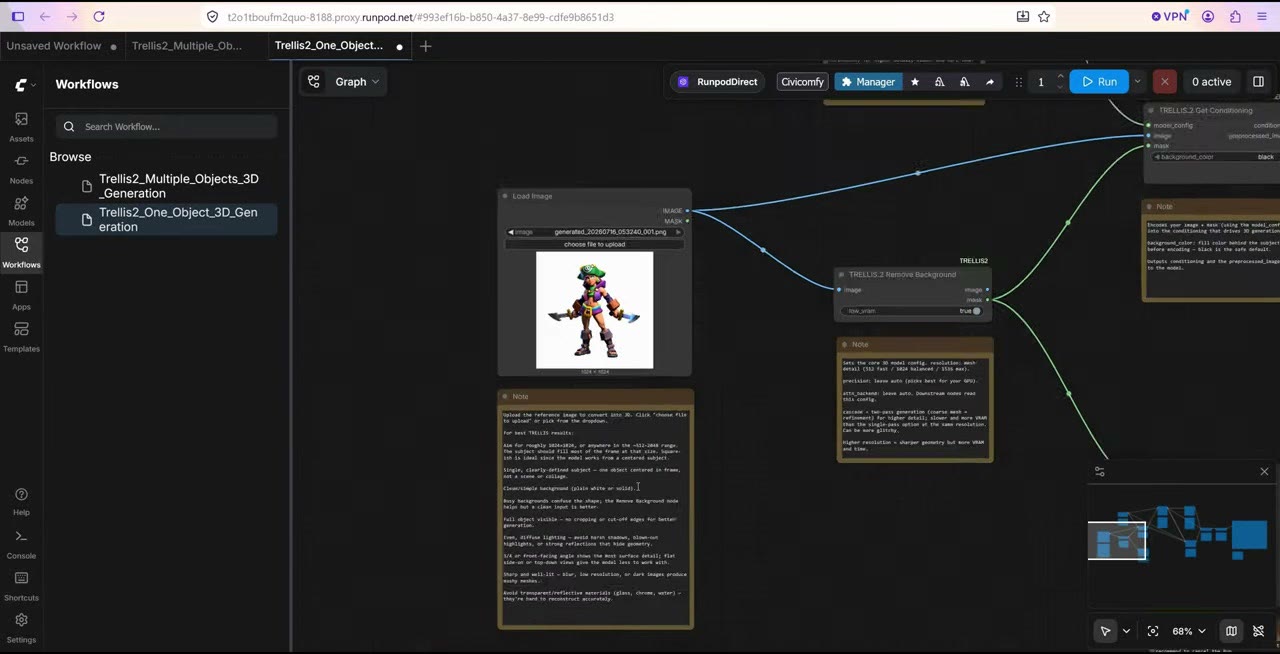
1. Load the image.
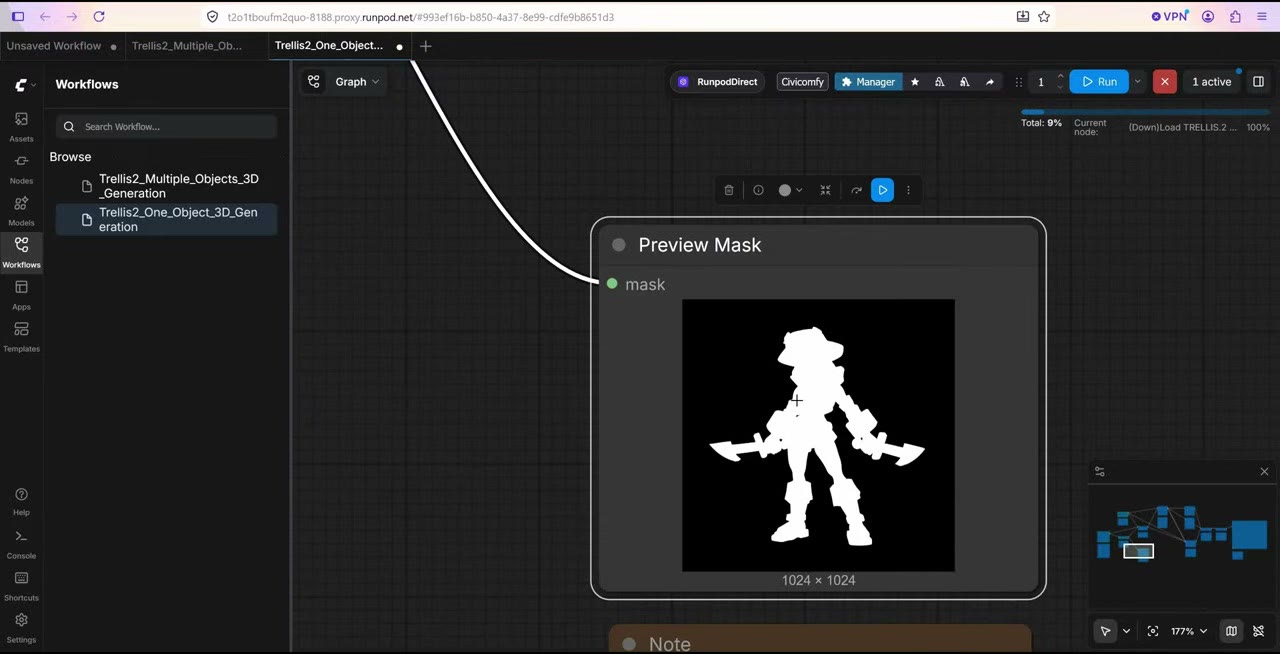
2. Remove the background. A preview shows the mask, so you can catch a bad cutout before it wastes a generation. White pixels are kept, black pixels are removed.
3. Conditioning and image-to-shape. The cutout is combined with the TRELLIS model to build the shape. There are several options here; I leave them at their defaults.
4. Process the mesh. This node holds the setting that matters most: target_face_count, the polygon budget. It’s 500,000 by default. For low-poly assets, try 50,000 or 5,000.
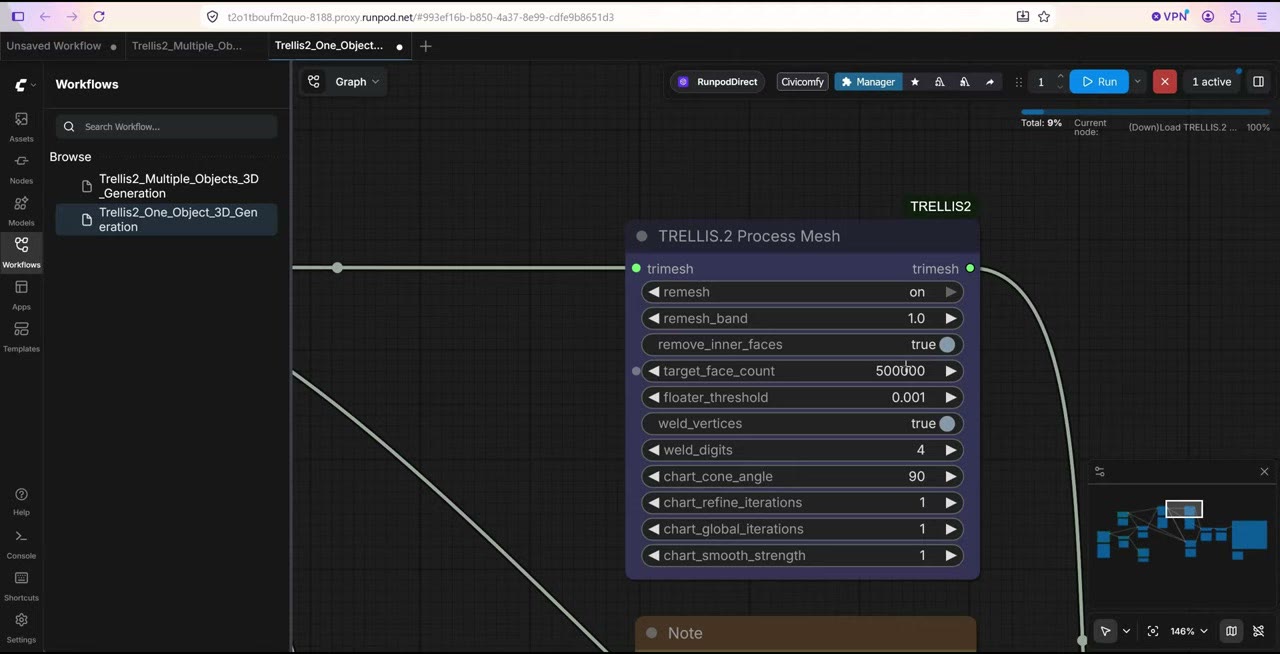
target_face_count controls the polygon count.5. Texture. Again, the defaults work well.
6. Export to GLB, with a 3D preview in ComfyUI.
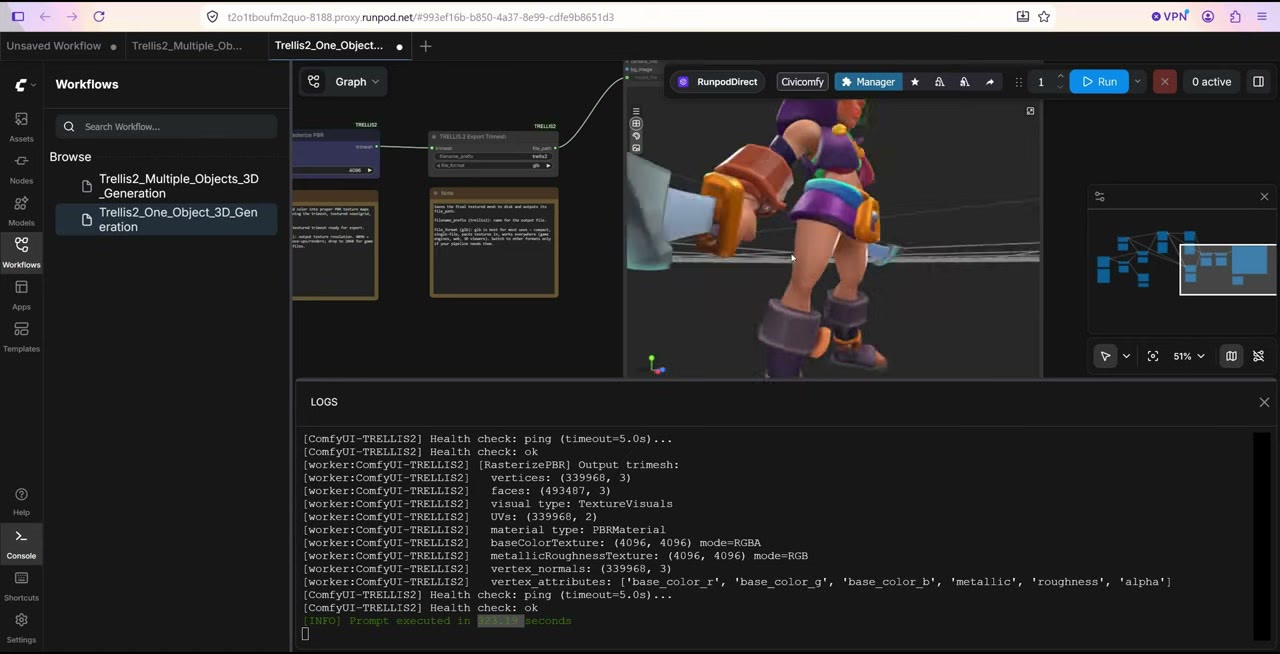
Run the single-image workflow first, with the console open. On an RTX 5090 the first model took about five minutes, because the models load on the first run; later ones were noticeably faster. The first render can occasionally get stuck. If it does, restart ComfyUI and run it again.
What to expect: the result is good, not perfect. In my test the back had a few holes, and a hand that was hidden in the image came out poorly. T-pose characters with obvious fingers came out much better.
Run a whole folder
The batch workflow is identical except for the first node, which loads images from a folder instead of a single file.
- Open JupyterLab from the pod’s Connect menu and go to
ComfyUI/input/. - Create a folder, for example
images_for_3d, and upload your images into it. - In the batch workflow, set the folder path on the load node to that folder.
- Reload ComfyUI, then run once to check that the preview shows your first image.
- Queue with Run (Instant).
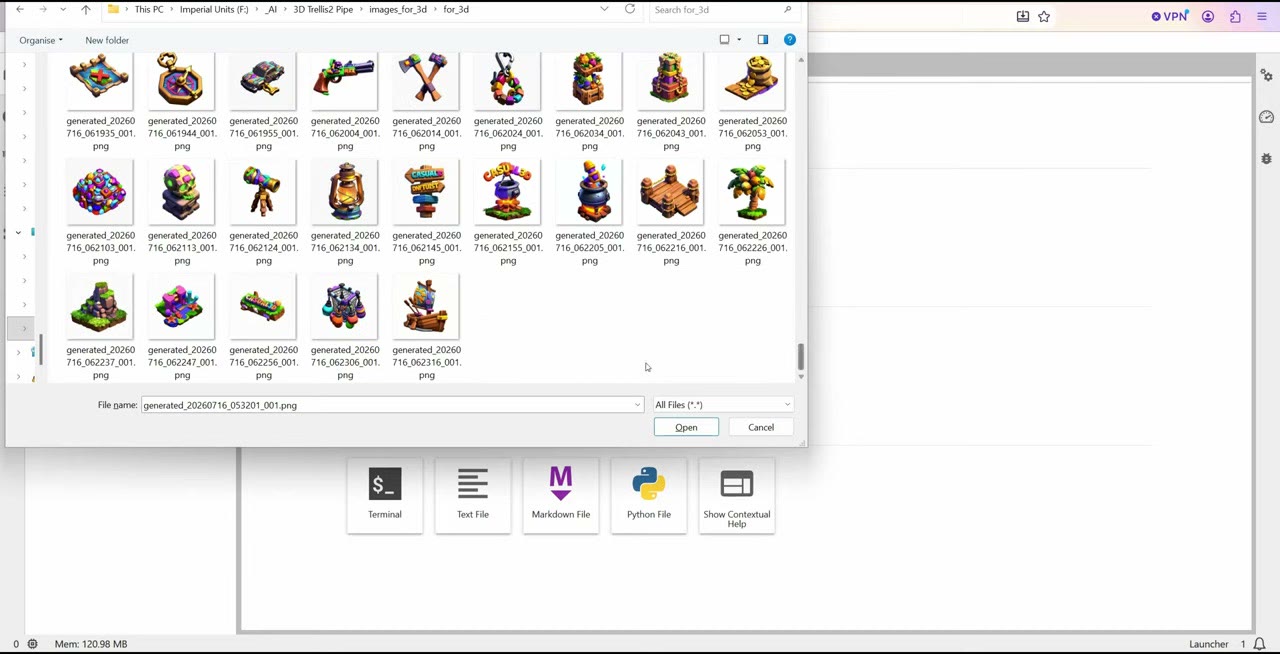
One quirk: in instant mode the workflow keeps cycling through the folder forever. When every image has been done once, cancel the remaining jobs.
Output, polygon count and texture size
Models are saved as .glb files in ComfyUI’s output folder. Right-click one in JupyterLab to download it.
At the defaults (500,000 faces and a 4K texture) the files are large and slower to generate. Lowering both makes everything faster:
| Faces | Texture | Result in my tests |
|---|---|---|
| 500,000 | 4K | The most detail; big files, slowest |
| 5,000 | 1K | Honestly not bad, good for low-poly assets |
| 1,000 | — | About the minimum; too rough to be usable |
Mistakes to avoid
- Busy backgrounds. Use plain white so the cutout is clean.
- Hidden hands. Pose characters so fingers are visible.
- Trusting “ready” on first boot. Give it about 30 minutes and watch the logs.
- Leaving instant mode running. It loops through the folder until you cancel.
- Defaults you don’t need. If you want low-poly assets, drop the face count and texture size; it’s faster and the files are smaller.
The template link is a RunPod referral link, as is this one: new accounts that sign up with Google get $5–$500 in credit after their first $10, and I get a small commission. The Meshy link is also a referral link.
Watch the video version (10:23)
Everything above is in the video too, if you'd rather follow along on screen.
FAQ
Is TRELLIS 2 the best open-source image-to-3D model?
Of the open-source models I tested, yes: it gives textured models and was far easier to get running than Hunyuan3D 2.1. Closed-source services such as Meshy, Tripo and Hunyuan 3.5 still gave better results.
How long does TRELLIS 2 take per model?
The first model took about five minutes on an RTX 5090, including loading the models. Later ones were noticeably faster. Lower polygon counts and texture sizes speed it up further.
How many polygons can TRELLIS 2 output?
The template defaults to 500,000 faces. You can go down to about 1,000; 5,000 faces with a 1K texture still looked usable in my test, while 1,000 was too rough.
What input images work best?
One object on a clean white (or black) background, so it’s easy to cut out. For characters, a T-pose with clearly visible hands and fingers.

Anton Tenitsky is a 3D artist with 15+ years in computer graphics, working with Nickelodeon, Gameloft, Marvel Rivals and many other clients. More about me