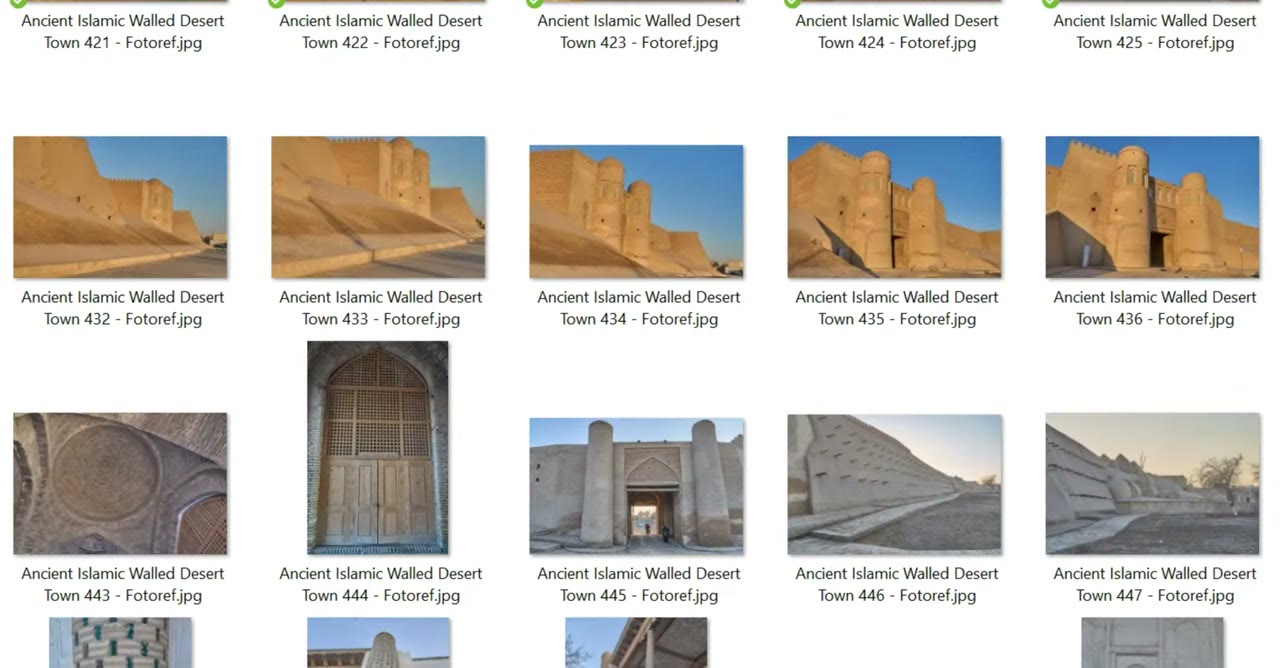
Photos make great starting points for AI art: they bring composition, depth and lighting, so you need much less prompting. This workflow takes a whole folder of photos and restyles every one of them, all free and on your own computer. I ran it on a graphics card with 4 GB of VRAM.
It uses SDXL. Flux gives better results, but it’s much heavier. If you have a small GPU, this is the version for you.
In short
- Model: Juggernaut XL, a 6 GB SDXL model. It still runs on 4 GB of VRAM.
- Structure: a depth map from each photo drives an SDXL depth ControlNet.
- Settings: depth resolution 768, 30 steps, CFG 4.
- Batch: a folder of photos, processed one after another.
- The finished workflow is on my Patreon, but it’s all explained here.
Custom nodes
From the ComfyUI Manager: WAS Node Suite for the batch loader, comfyui_controlnet_aux for Depth Anything, ComfyUI Essentials, KJNodes for saving, and rgthree for the before/after comparison.
1. Load the folder
Load Image Batch (from the WAS Node Suite) is set to incremental: it points at a folder and takes the next image on each run.
2. Make a depth map
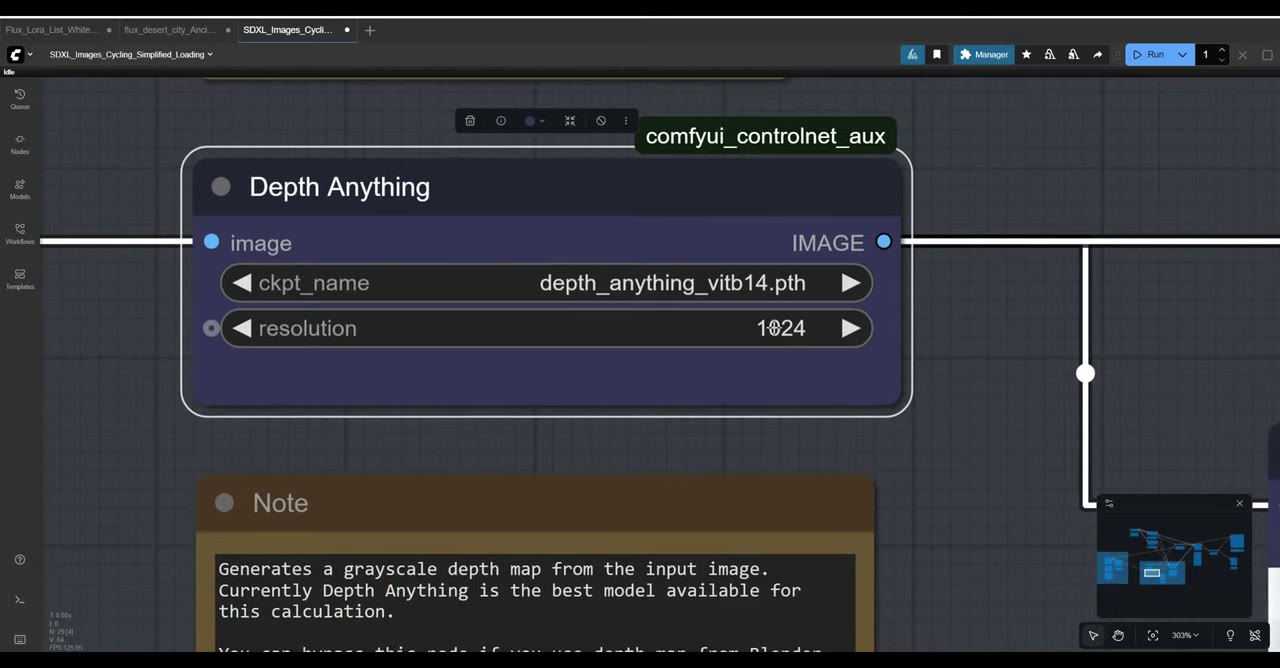
Each photo goes into Depth Anything, which makes a greyscale depth map: white for what’s near, black for what’s far. That map, not the photo itself, is what guides the AI. You keep the photo’s structure and get new materials, lighting and style.
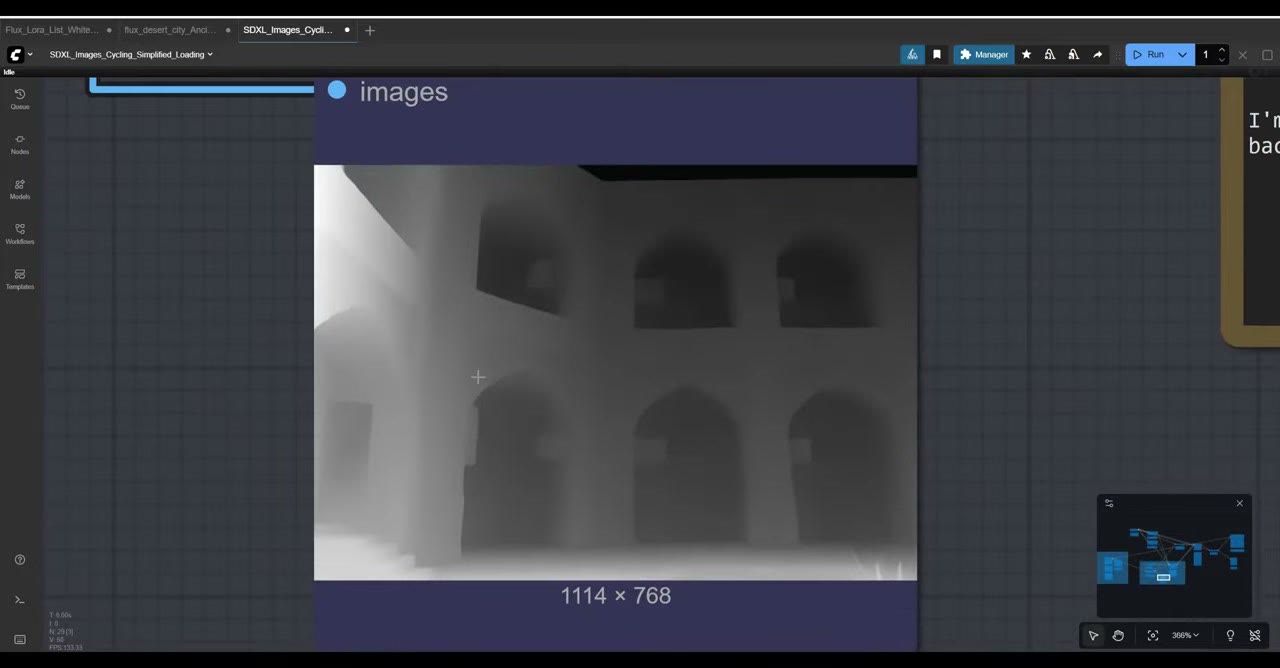
The node’s resolution setting matters. My photos were 4K to 7K pixels wide, far too big. The resolution value sets the short side of the image, and the long side scales to match, so it works for portrait and landscape photos alike. I used 768; 1024 works if your GPU can take it.
3. Apply the depth ControlNet
The depth map goes into Apply ControlNet with an SDXL depth ControlNet model. Find one in the ComfyUI Model Manager by searching “SDXL depth”, download it, reload the browser and pick it from the dropdown. Apply ControlNet then feeds the KSampler.
4. The model
Load Checkpoint loads Juggernaut XL by RunDiffusion, a 6 GB model.
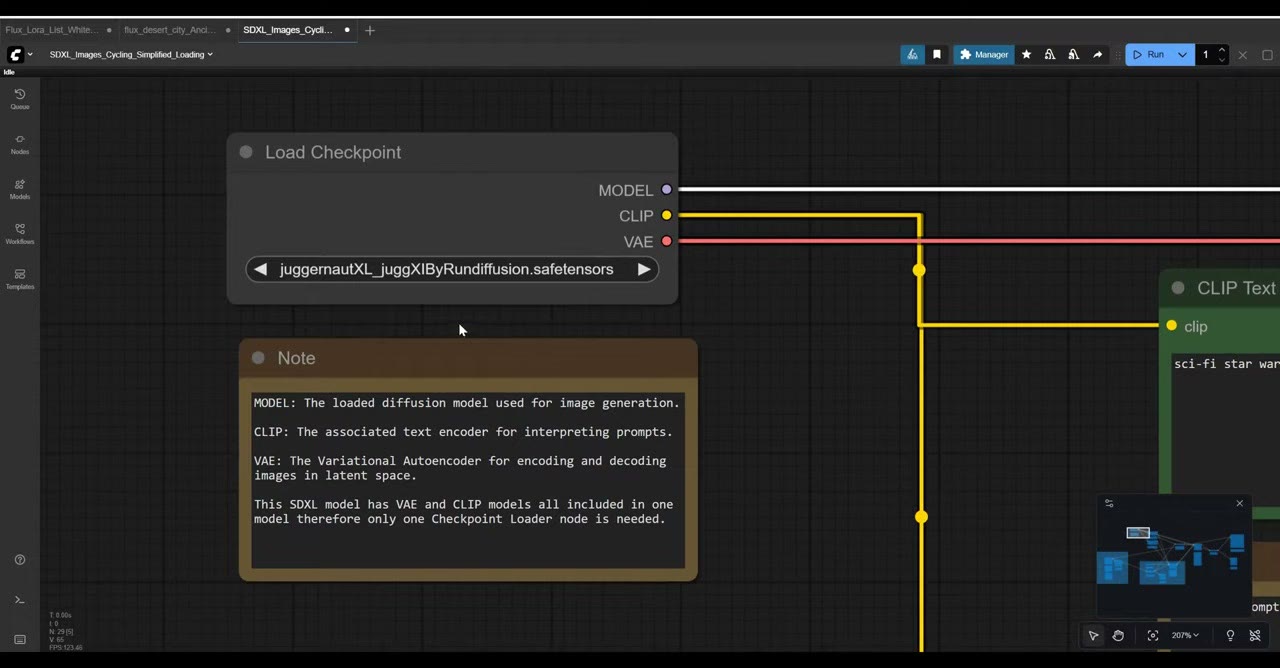
A viewer asked how a 6 GB model runs on a 4 GB card. It works because ComfyUI manages memory for you: when the model doesn’t fit in VRAM, it keeps part of it in system RAM and moves pieces in as they’re needed. That makes it slower than on a bigger card, but it runs.
5. The prompt
The positive prompt is short, because the photo does most of the work. I used “Star Wars” as a quick shorthand for a recognisable style. Replace it with whatever you want: “sci-fi, black metallic city”, a medieval castle, anything.
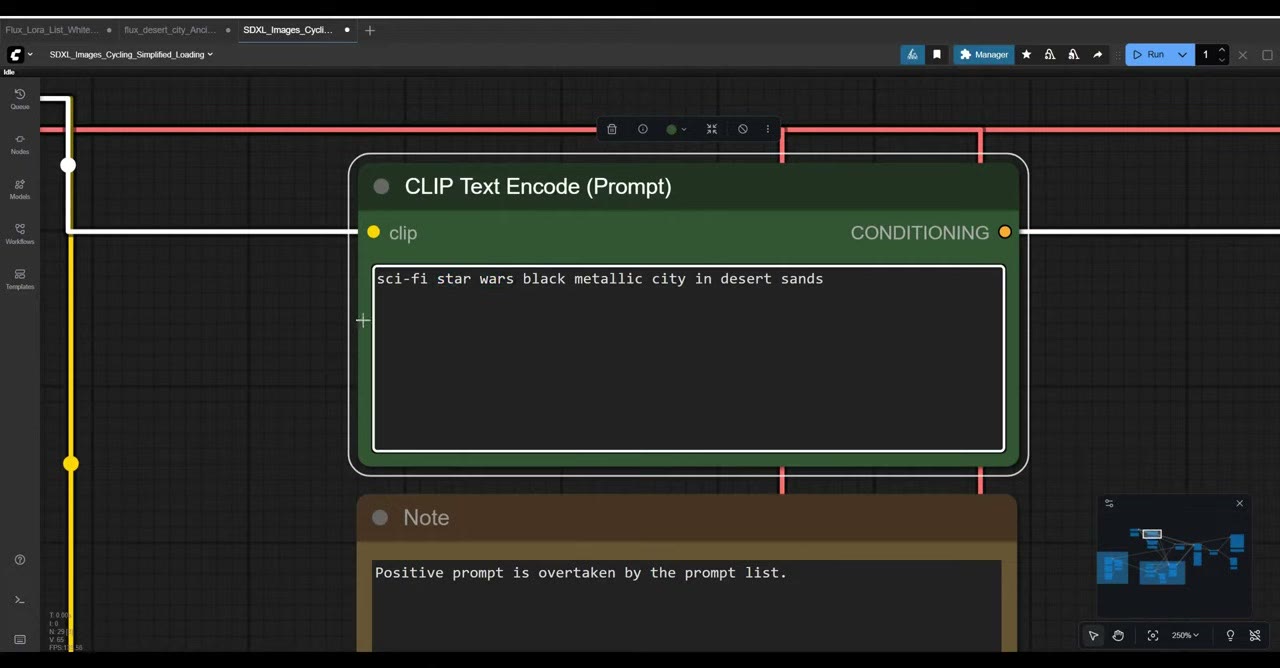
I leave the negative prompt empty. Most models I’ve used, and I’ve tried 20 or 30, work with positive prompts alone. Both prompts go through Apply ControlNet and on to the sampler.
6. Size, sampling and decoding
The resized image also goes through VAE Encode. Its job here is only to set the size of the latent canvas, the noise the sampler turns into a picture. With denoise at 1.0, none of the photo’s pixels survive; only the depth map shapes the result.
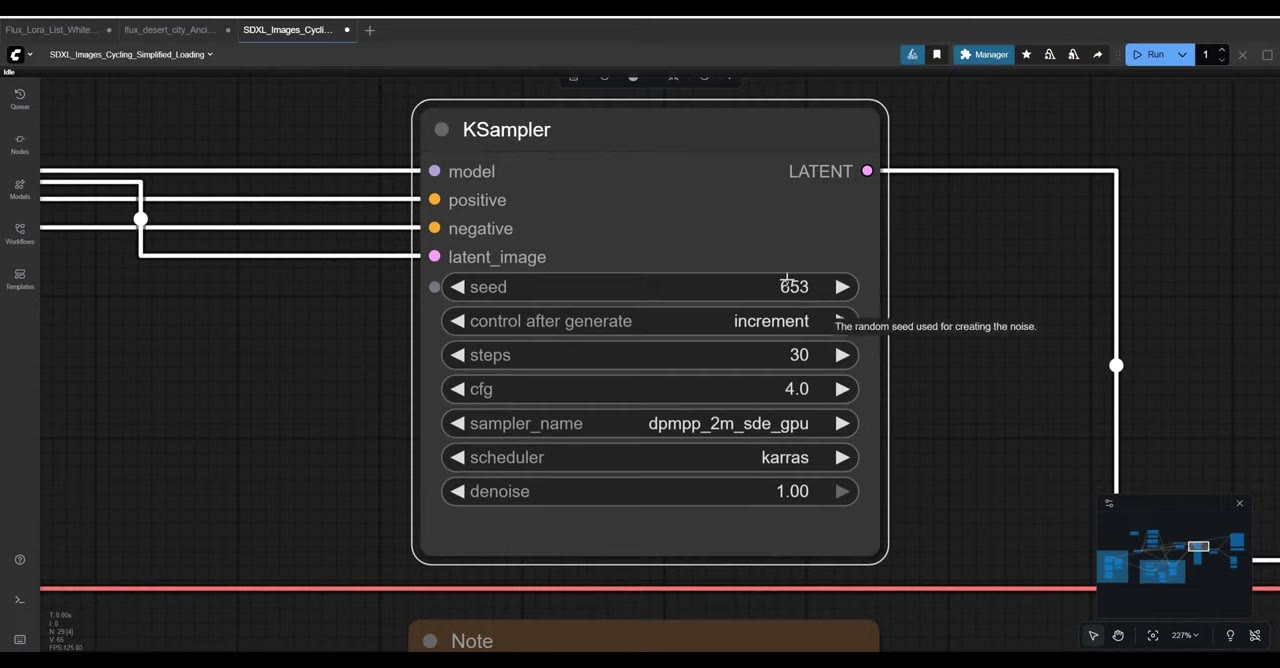
The KSampler settings come from the model’s page on Civitai, which is where you’ll find recommended settings for most community models:
- Seed: increment, so images are numbered in order (654, 655 and so on).
- Steps: 30.
- CFG: 4.
- Sampler and scheduler: as recommended on the model page.
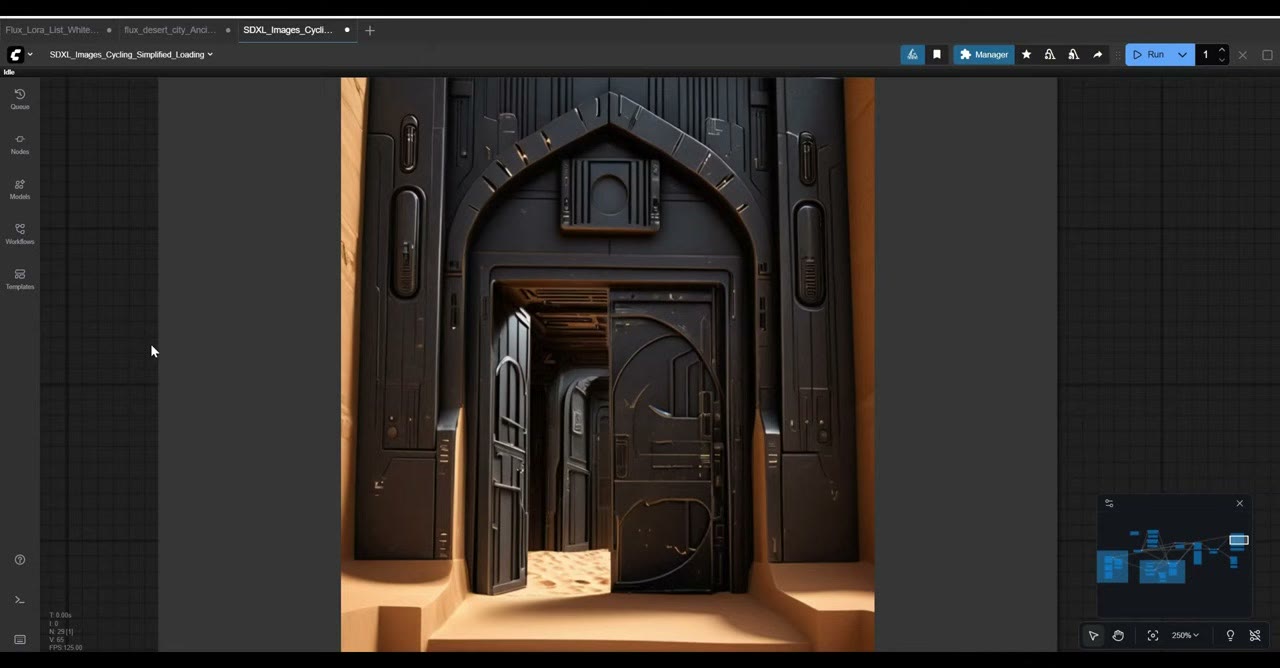
VAE Decode turns the result into pixels, and an rgthree image comparer shows the photo and the result side by side.
7. Save where you want
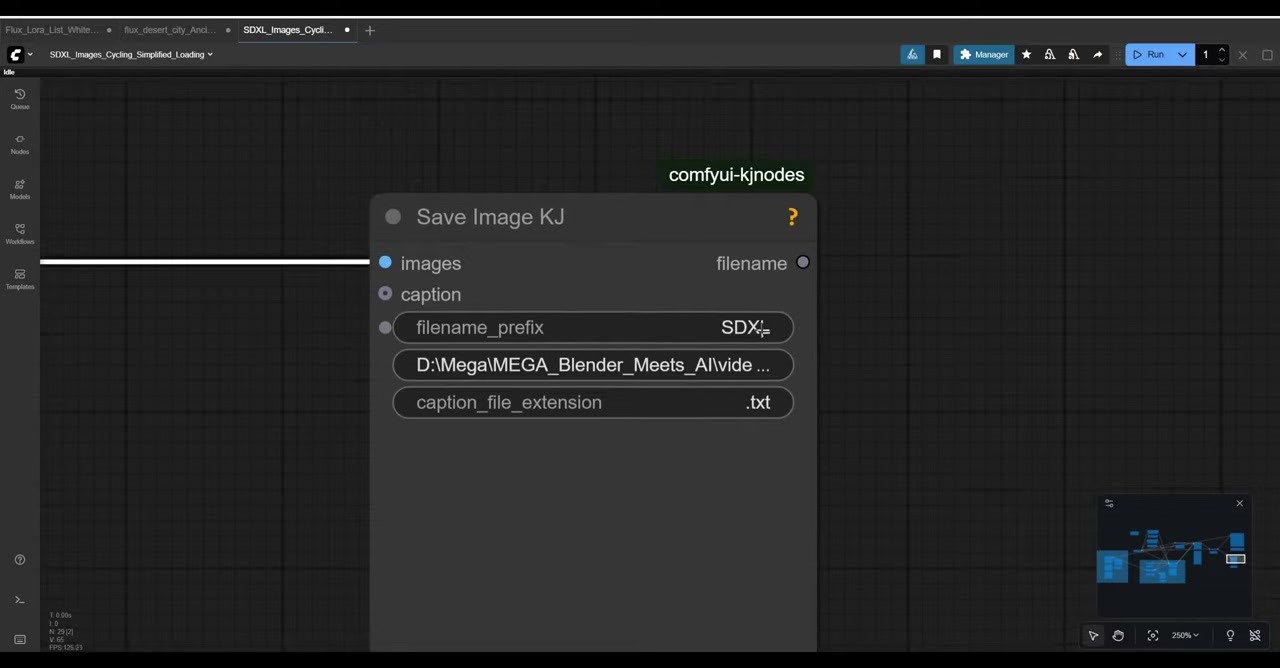
Rather than ComfyUI’s default output folder, I use a save node that writes to a folder I choose, with SDXL as the file name prefix. Point it wherever your project lives.
Then queue the batch and let it work through the folder. Browse a few photo packs, or your own gallery, and you’ll get a lot of ideas very quickly.
Watch the video version (7:10)
Everything above is in the video too, if you'd rather follow along on screen.
FAQ
Can SDXL run on a 4 GB GPU?
Yes. I ran this workflow, with the 6 GB Juggernaut XL model, on a card with 4 GB of VRAM. ComfyUI’s memory management makes it work, although it is slower than on a bigger card.
What settings does Juggernaut XL need?
I used Civitai’s recommended settings for the model: 30 steps and a CFG of 4, with the sampler and scheduler listed on the model page.
Should I use SDXL or Flux for this?
Flux gives better results but needs more memory and is slower. SDXL is the option for small GPUs and quick idea generation.

Anton Tenitsky is a 3D artist with 15+ years in computer graphics, working with Nickelodeon, Gameloft, Marvel Rivals and many other clients. More about me