From a doodle to cover art in under a minute, even on a laptop with 4 GB of VRAM. This free, offline ComfyUI workflow reads the depth of a simple sketch and generates an image that stays faithful to it. ChatGPT does something similar, but here you see exactly how it works and keep full control, with no subscriptions and no censorship. And it doesn’t have to be pin-ups: a potion, a sword, a creature, anything you can sketch.
This version uses SDXL, which is fast and light. SDXL tends to get hands wrong; I fix those with Flux, which is heavier and better. The input doesn’t have to be a sketch, either: a photo or a 3D render works the same way.
In short
- Model: Juggernaut XL, an SDXL checkpoint.
- Depth: Depth Anything V2 plus an SDXL depth ControlNet.
- Settings: 1024 × 1024, 25 steps, CFG 6–8, ControlNet strength about 0.55.
- Speed on 4 GB: about 40–80 seconds per image.
- Expect to cherry-pick: maybe one image in five is really good.
Build it step by step
Start from ComfyUI’s standard image generation preset; it saves some time. You’ll add three custom packs from the Manager: ComfyUI Essentials, comfyui_controlnet_aux (for Depth Anything V2) and rgthree. For the integer node, add ComfyUI Easy Use.
A small habit that helps: rename the two prompt nodes “Positive Prompt” and “Negative Prompt”, and colour them green and red (right-click → Color).
1. Load and resize the sketch
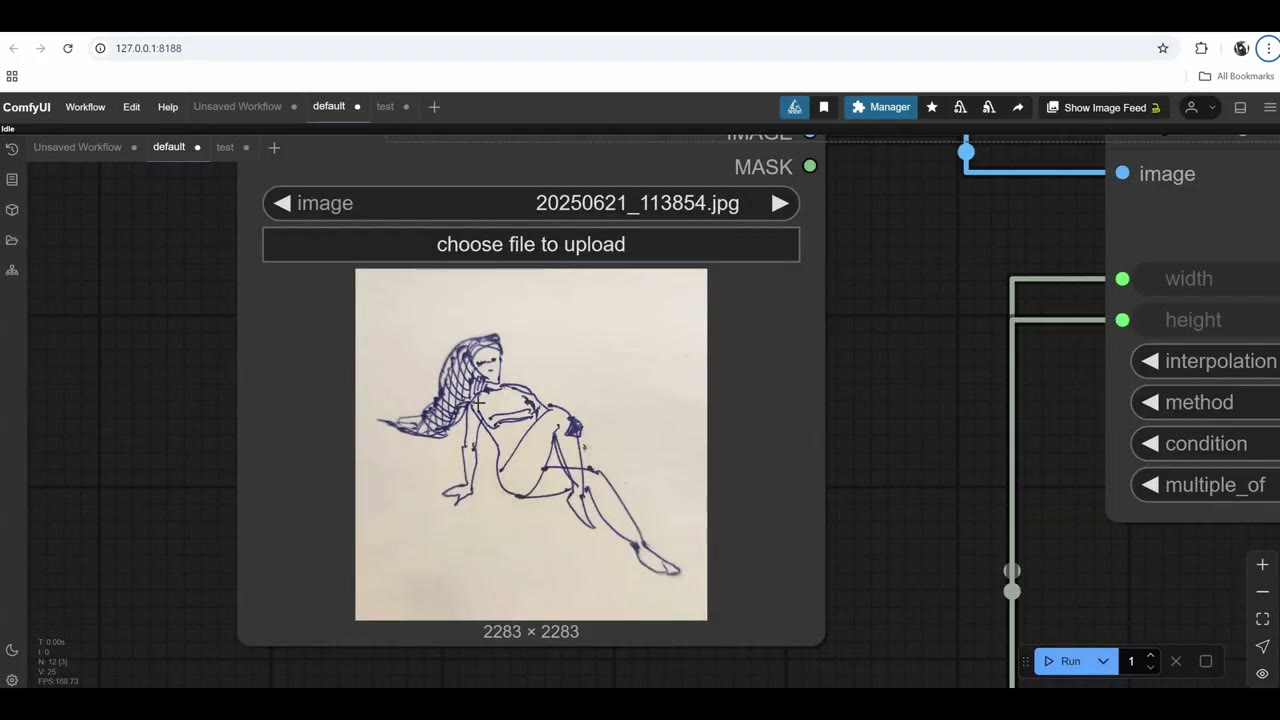
Add a Load Image node with your sketch. I work with square images; they’re easier. Resize it with the Image Resize node from Essentials to 1024 × 1024: SDXL models were trained at that size, and the dimensions must divide by 8.
2. Use the sketch as the starting canvas
Instead of the Empty Latent Image, encode the resized image with VAE Encode (VAE from the checkpoint, image into its pixels input) and connect that to the KSampler’s latent input. You can delete the empty latent.
3. Load Juggernaut XL
The default checkpoint is Stable Diffusion 1.5. Swap it for Juggernaut XL, a free SDXL model on Civitai, where you’ll also find the recommended KSampler settings. Put the file in ComfyUI/models/checkpoints/, then refresh the browser (Ctrl+R) so ComfyUI lists it.
KSampler settings:
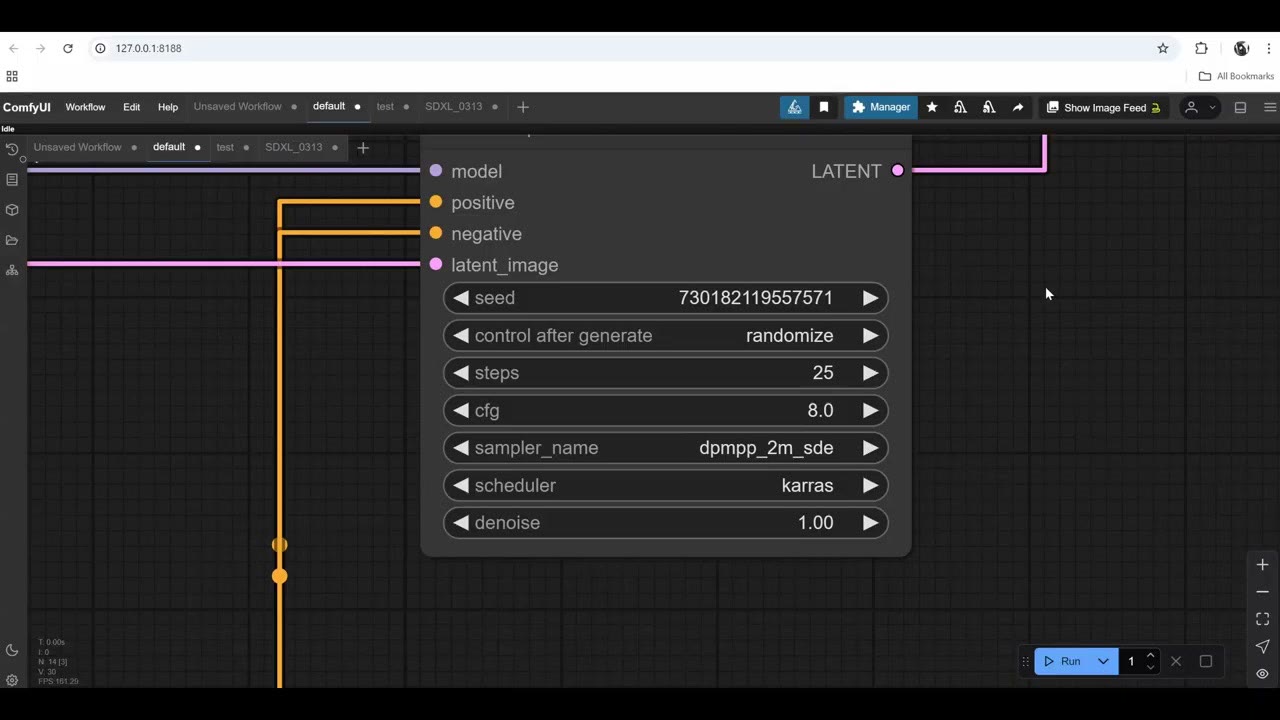
- Steps: 25. Steps are quality, but over 50 adds little. 25 gives good results and saves time.
- CFG: 6–8. CFG (classifier-free guidance) is how much freedom the model gets from the prompt. At 9 or 10 the image burns: harsh contrast, a weird look. At 6 the model has more room to interpret, which can be good. At 3 it turns noisy.
4. The depth group
Search for Depth Anything V2 (from comfyui_controlnet_aux) and add it. Download the Depth Anything model from the Model Manager, refresh the browser, and connect your image.
Set the resolution once: add an integer node (from Easy Use), type 1024 and connect it to the resize width, height and the Depth Anything resolution. When you want to try a higher resolution, you change one number.
To test just this part, select the other nodes and bypass them (Ctrl+B), then run. You’ll see the depth map.
Make the sketch easier to read. My first depth map was only okay. Filling in the figure, with a pen on paper or a quick fill in Photoshop, gave a clearly better depth map, though the foot was still a little vague.
5. The ControlNet
Add Apply ControlNet (a standard node) and connect the depth image, the two prompt outputs, and the VAE. Its outputs go to the KSampler. Then add Load ControlNet Model and connect it.
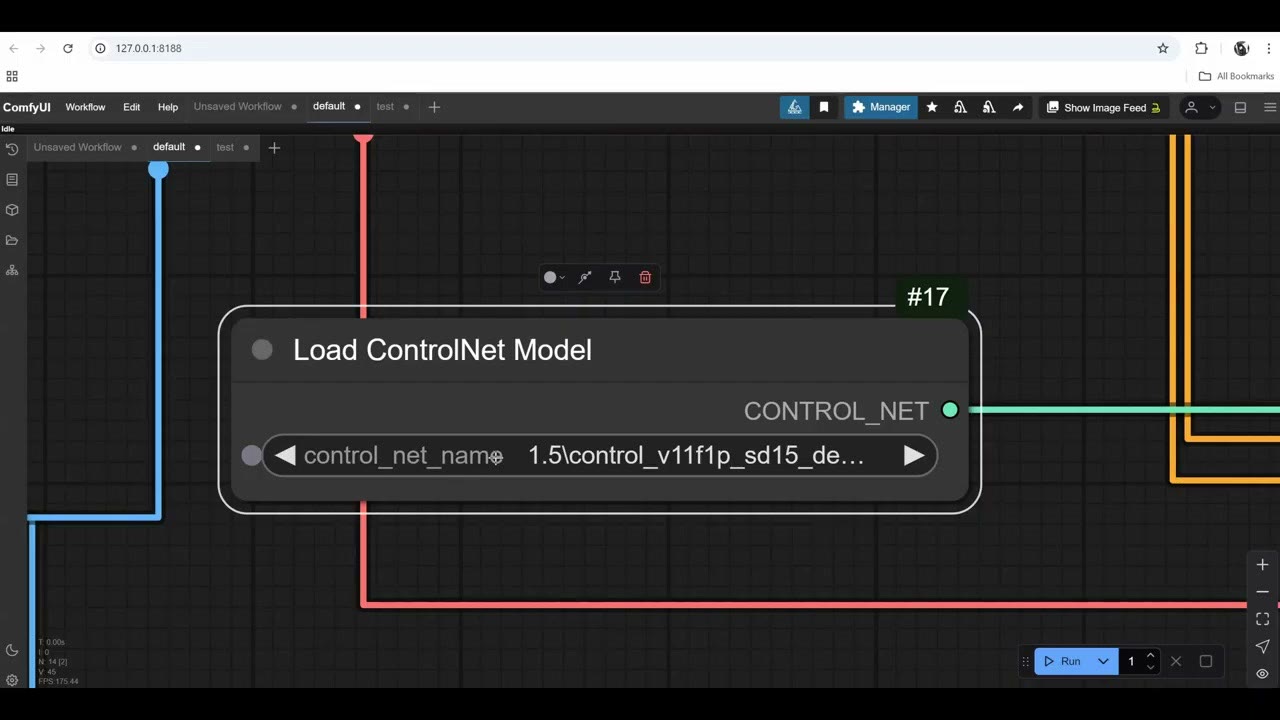
ControlNets are model-specific. SD 1.5, SDXL and Flux each have their own. In fact, when a shiny new model comes out, it often has no ControlNets yet: great for prompting, but useless for real work where you need control. Find ControlNet SDXL depth in the Model Manager, refresh and select it.
First results, and the setting that fixes them
My first prompt was simple: a woman reclining in a grass field. On the 4 GB laptop, the first image took 65 seconds (including loading the model). The pose was right, but the image wasn’t great. A better prompt from ChatGPT, and a sampler suited to photoreal images, helped a little. It still wasn’t good.
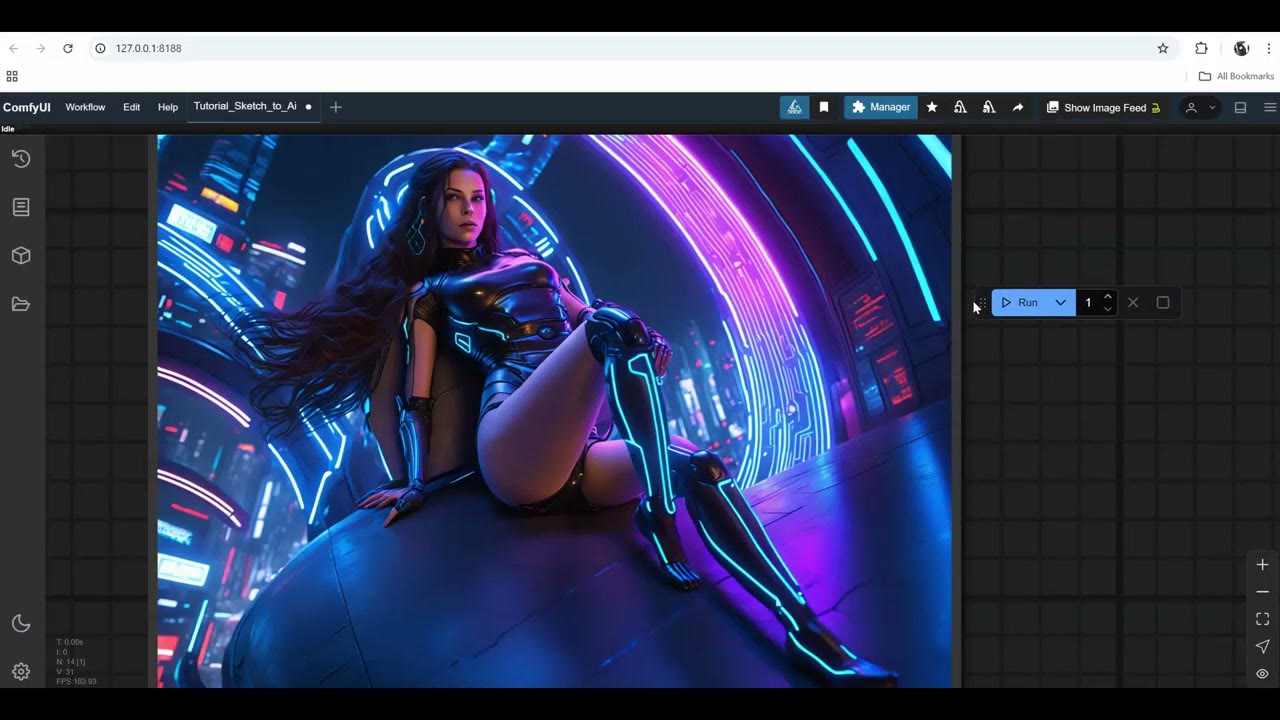
The real fix was ControlNet strength. At 1.0 the model sticks to the sketch so hard that the result looks bad. Dropping it to 0.55 gave the model room to interpret the pose, and the result was much better. The hands and face were still typical SDXL, though.
Don’t raise the resolution to fix detail
Raising the resolution makes faces and hands better, in theory. But SDXL stretches the body: at 1536 the limbs already get longer, and at 2048 the figure looks alien. The usual approach is to generate at about 1024 and then upscale; see my free upscaling guide.
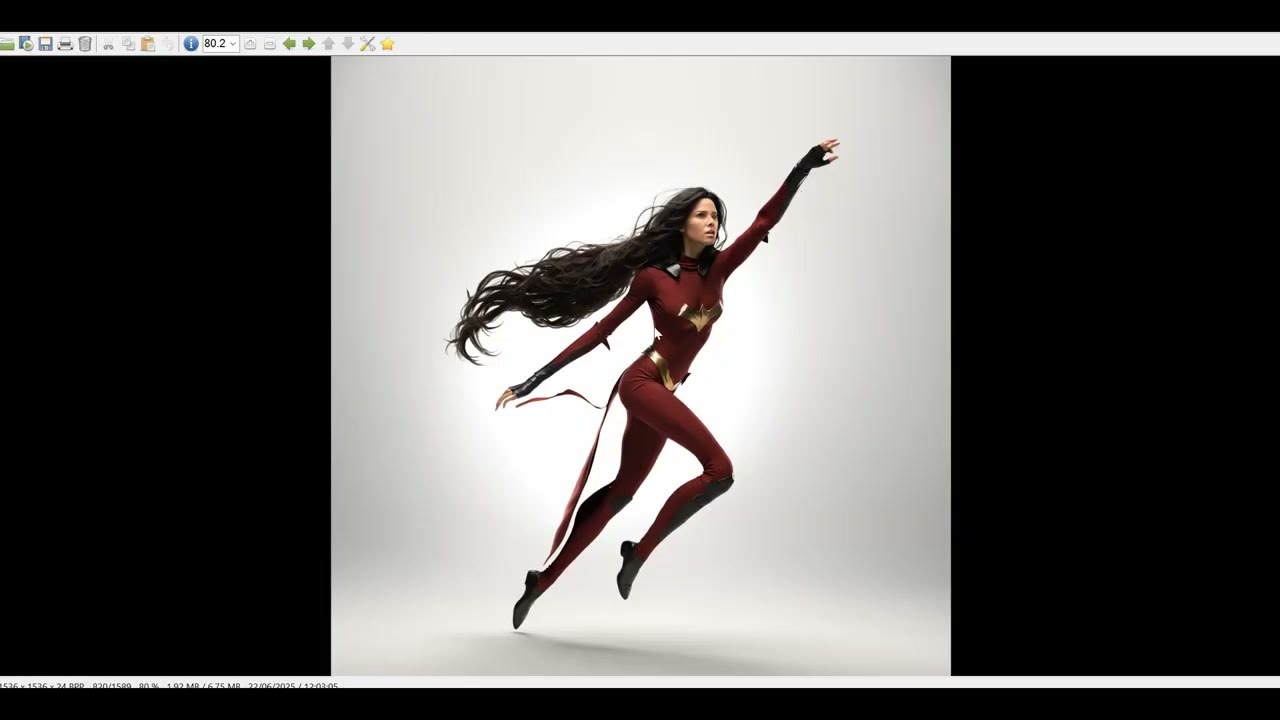
Run it overnight and cherry-pick
Maybe one generation in five is really good. That’s normal: everyone cherry-picks AI output, so don’t believe the marketing videos. Switch the queue to Run (Instant) and leave it overnight, and you’ll have a thousand renders to choose from.
Add an rgthree image comparer with the sketch as image A and the result as image B, and drag the slider to compare.
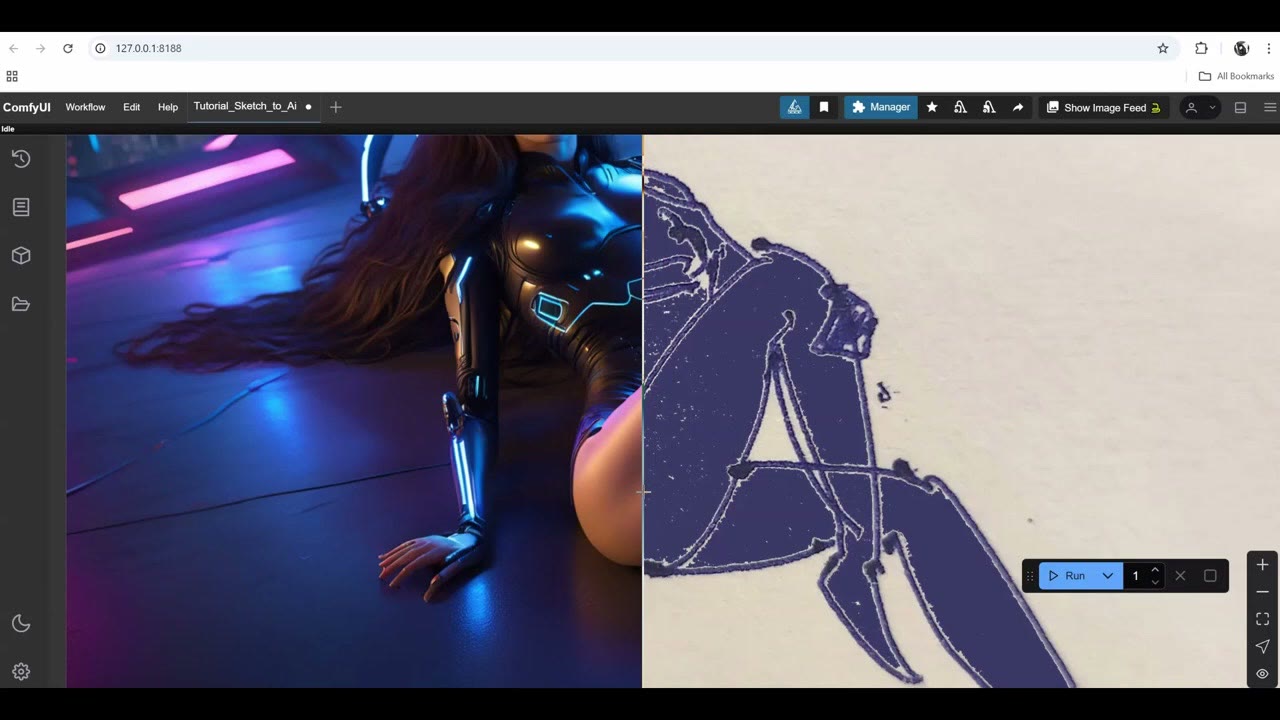
Non-square sketches
For a non-square sketch, set the resize to 1024 with keep proportions. The long side becomes 1024 and the short side follows. My first attempt used fill/crop, which forced a square and cut off part of the sketch. Keep proportions covered the whole thing.
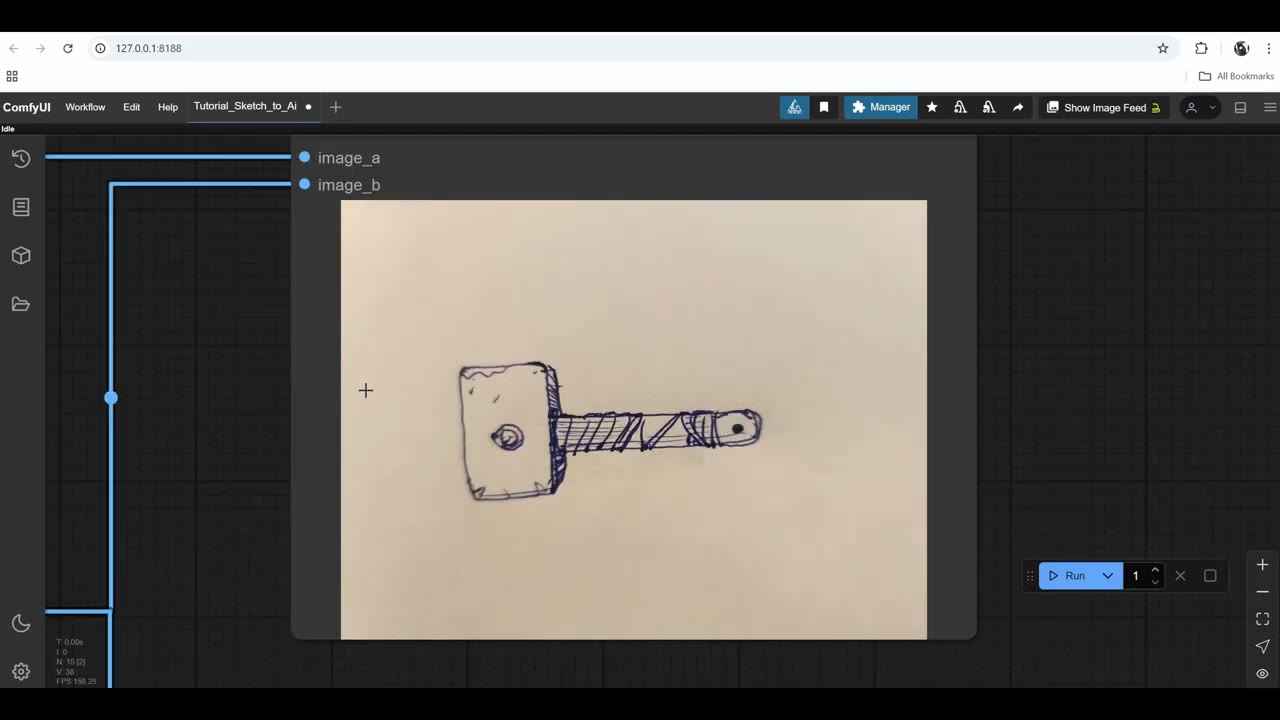
One caveat: proportional resizing gives odd sizes for the short side (say 716, or 537), which can cause noisy, bad generations now and then. It’s a quick way to handle non-square images, but sticking to standard resolutions is more reliable.
More examples
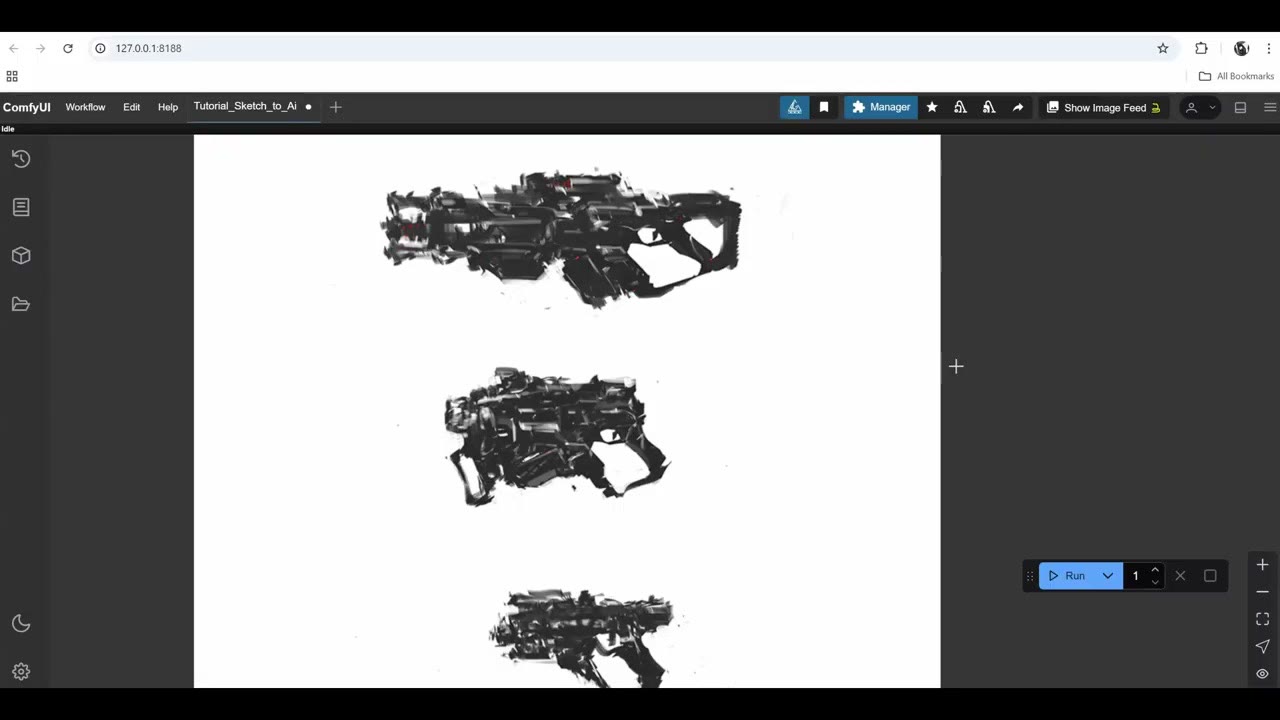
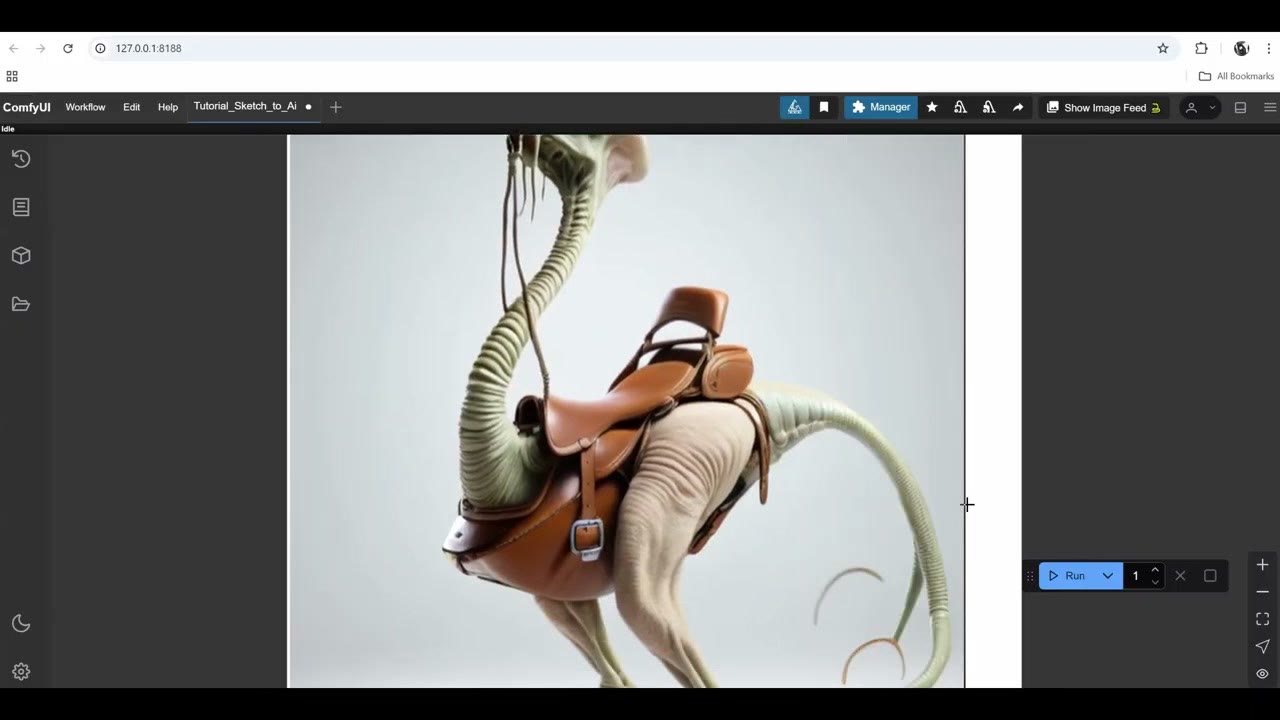
A Photoshop sketch of several guns, with a simple prompt, became a gun collection. A creature sketch I drew about 20 years ago came out remarkably close: the anatomy of the hooves and the saddle followed the drawing. Raising the strength to 0.7 would catch the tail better, and naming the tail and head in the prompt would help too.
SDXL or Flux?
SDXL is great for computers with 4 or 8 GB of VRAM. With 16–24 GB, use Flux: higher quality, more variation and better prompt adherence, but much slower and more demanding. The Flux version of this workflow is in sketch to art with Flux, and the full SDXL workflow is on my Patreon.
Watch the video version (16:26)
Everything above is in the video too, if you'd rather follow along on screen.
FAQ
Can I run SDXL on a 4 GB GPU?
Yes. On my 4 GB laptop the first image took about 65 seconds (including loading the model), and later ones 40–80 seconds.
What ControlNet strength should I use with SDXL?
Around 0.55. At full strength the model sticks so closely to the sketch that the results get worse. Go up to about 0.7 if it isn’t following the sketch closely enough.
Why do my characters come out with long limbs at higher resolutions?
SDXL was trained around 1024 × 1024. At 1536 the anatomy already stretches, and at 2048 it looks alien. Generate at 1024 and upscale afterwards.
What CFG should I use?
Between 6 and 8, as recommended for Juggernaut XL. Above 8 the image starts to burn; around 3 it turns noisy.

Anton Tenitsky is a 3D artist with 15+ years in computer graphics, working with Nickelodeon, Gameloft, Marvel Rivals and many other clients. More about me