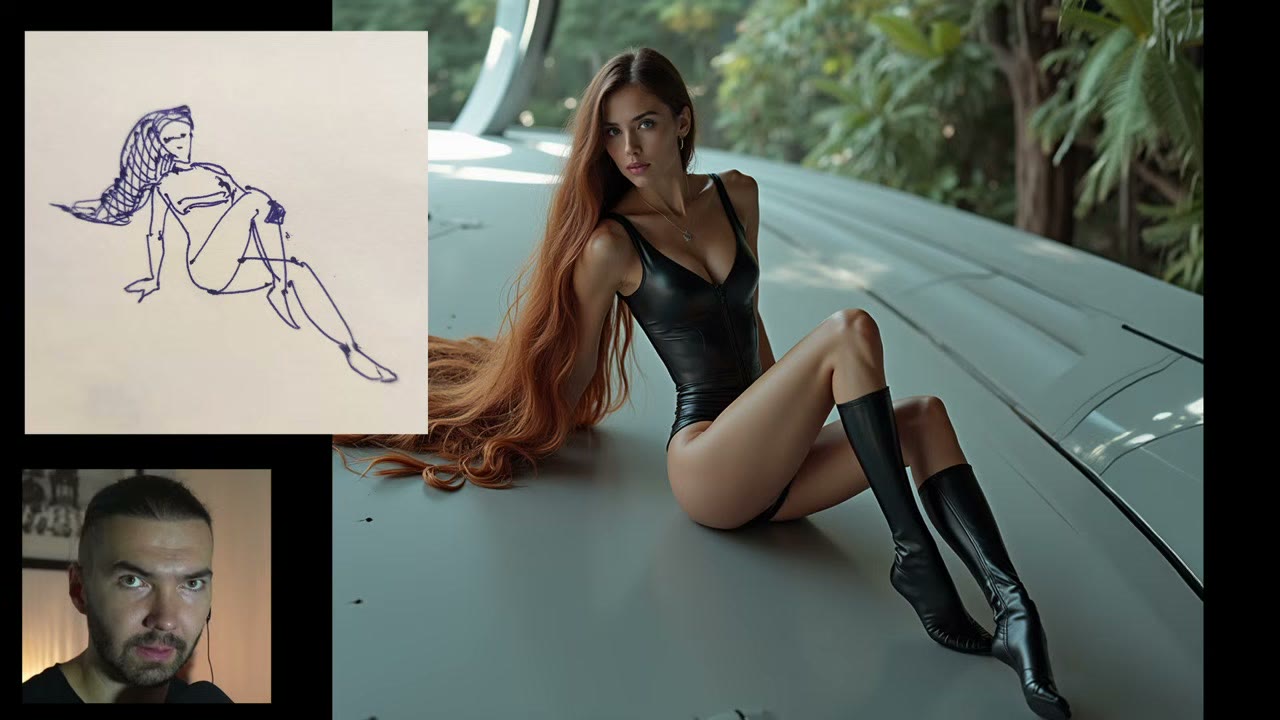
A rough sketch is enough for AI to read depth and pose from. This workflow turns a sketch, from pen and paper, Photoshop or a tool like Alchemy, into finished concept art with Flux in ComfyUI.
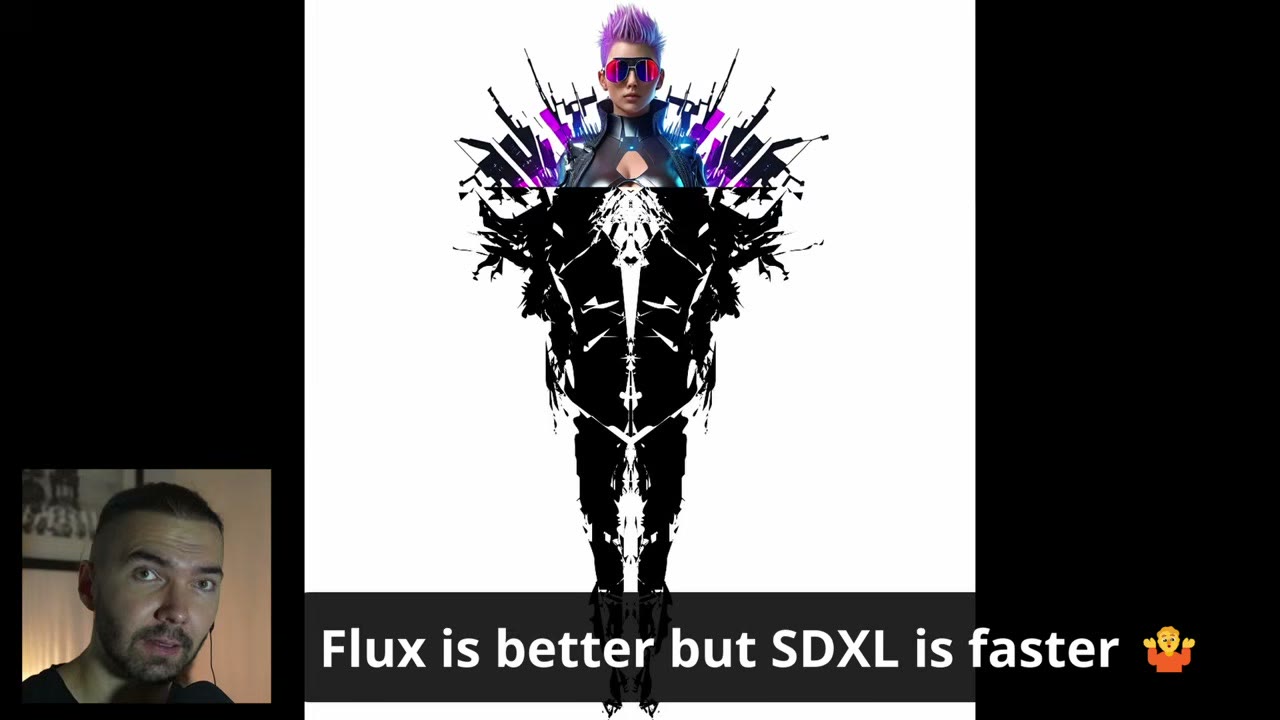
Flux is heavy: you need at least 12 GB of VRAM. If you have a regular laptop with 3–4 GB, the SDXL version of this workflow is for you. Flux gives better results; SDXL is faster.
In short
- Depth: Depth Anything V2 reads depth even from a vague sketch.
- ControlNet: Flux depth ControlNet v3 from XLabs.
- Resolution: square, and always a multiple of 8, e.g. 1024 × 1024.
- Sampler: seed on increment, 35 steps.
- No GPU? Run it in the cloud.
Custom nodes
All from the ComfyUI Manager: comfyui_controlnet_aux, rgthree, x-flux-comfyui, ComfyUI Essentials and ComfyUI-GGUF. Every node in the workflow shows which pack it comes from, so you can always look it up.
1. Load and resize the sketch
Load Image takes your sketch. Image Resize (from ComfyUI Essentials) brings it to one of a few good resolutions. I list them in a note in the workflow.
Square is the most native format for SDXL and Flux, and it performs best in my experience. Portrait and landscape are fine too; I use them a lot.
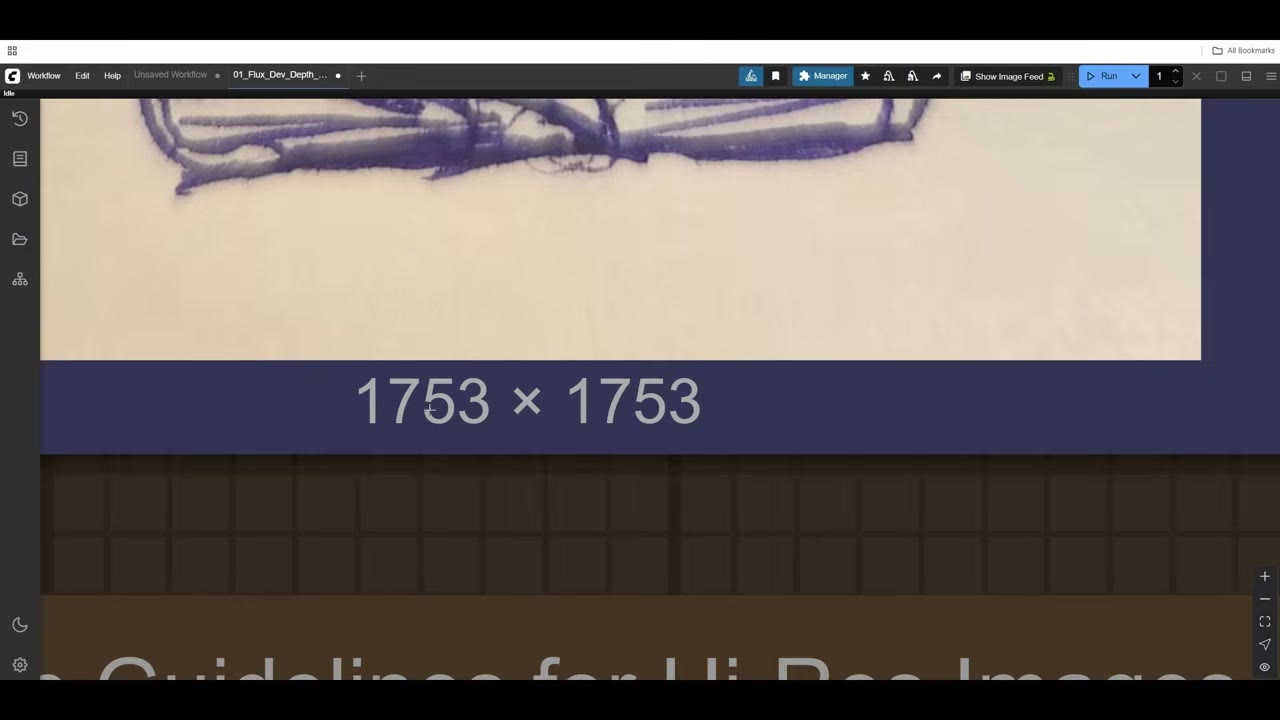
Use multiples of 8. The image gets compressed eight times on its way into latent space, where the diffusion happens. A sketch scanned at 1753 × 1753 doesn’t divide by 8, and odd sizes like that sometimes work and sometimes give glitches. I’ve tested a lot of resolutions; stick to the common ones.
2. Read the depth
Depth Anything V2 (from comfyui_controlnet_aux) reads the depth of the sketch. It’s remarkable what it gets out of a few pen lines. Its own resolution setting scales the short side to 1024, which overlaps with the resize, but I keep the resize anyway: sometimes I bring in a depth render straight from Blender and bypass Depth Anything (Ctrl+B).
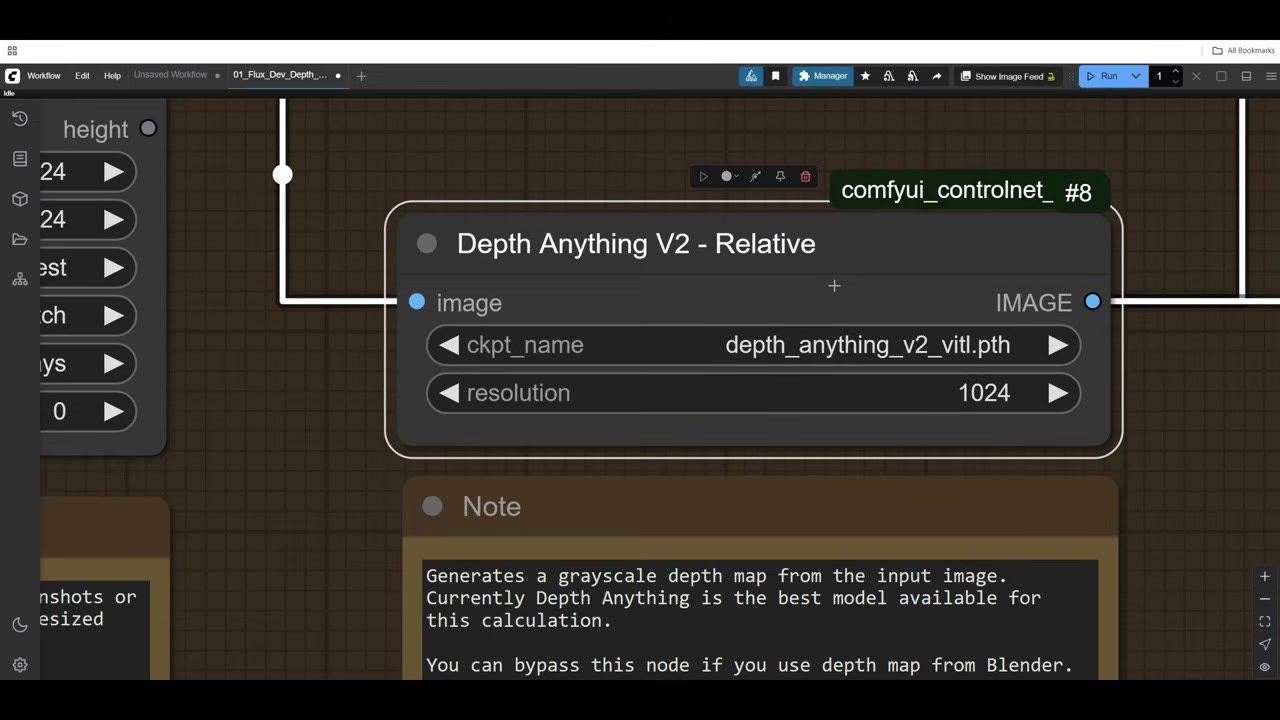
Download the model from the Model Manager (I use the largest, which should perform best), then just reload the browser; no restart needed. It’s independent of Flux or SDXL, which is one of the nice things about ComfyUI: you can combine models from different sources.
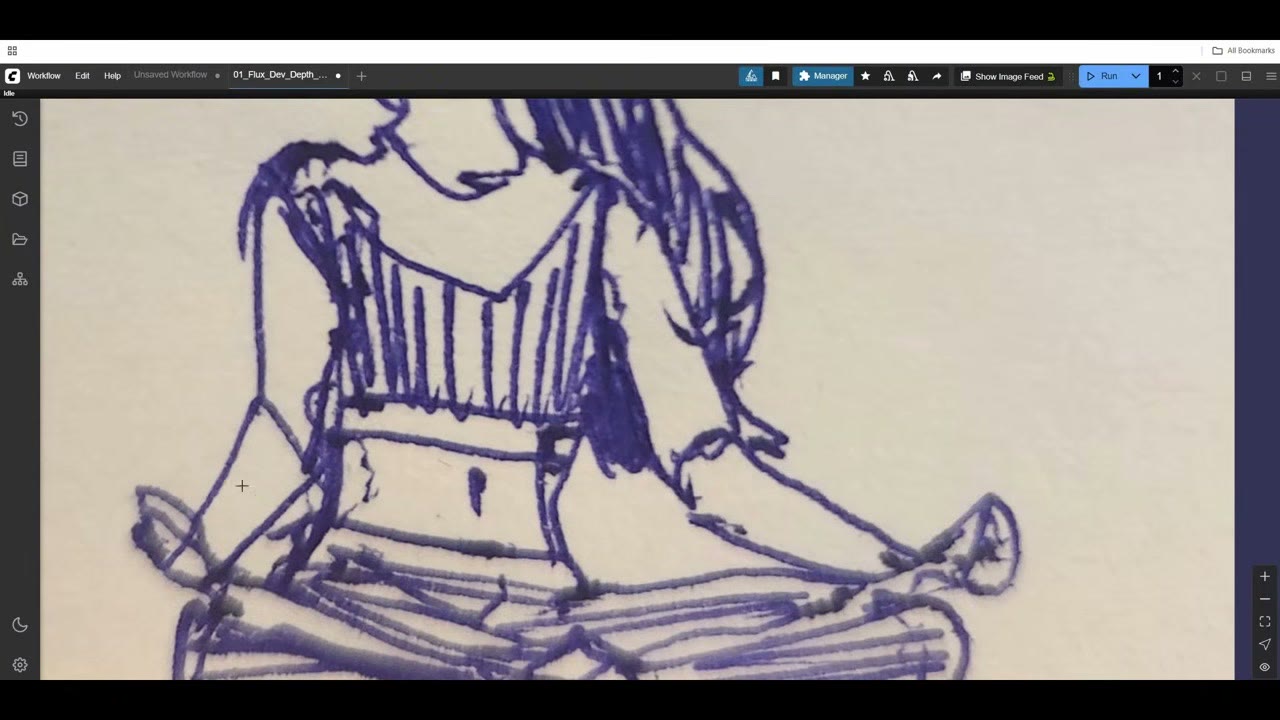
Tip: the depth map is only as clear as your sketch. Sketch the hands properly and fill in the silhouette with a solid tone, and the model has much more to work with.
3. Apply the Flux ControlNet
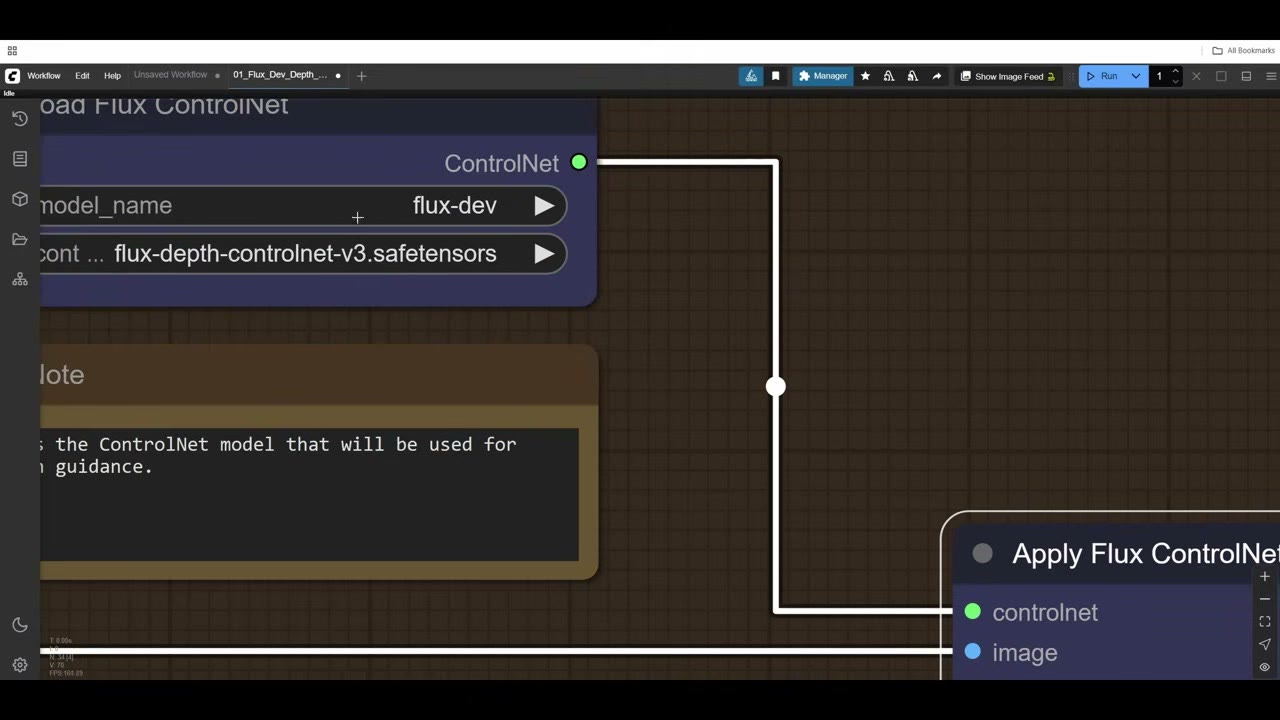
The depth image goes into Apply Flux ControlNet (from x-flux-comfyui). Reading depth is a separate skill, so it needs a separate model, and training one costs tens or hundreds of thousands of dollars. Here it’s the Flux depth ControlNet v3 from XLabs, found in the Model Manager.
4. Model and canvas
Load Diffusion Model loads Flux dev. The Empty Latent Image is the canvas where the image is generated, so its size must match your resize: 1024 × 1024 here.
Set the resolution once. Instead of typing 1024 in several places, add an integer node (from the ComfyUI Easy Use pack), type the size there and connect it to every width and height. To go up to 1536, you change one number.
5. Prompt
The DualCLIPLoader loads Flux’s two text encoders: CLIP-L and T5 XXL, both in the Model Manager. There are many versions; I haven’t seen much difference between them and stick to the regular fp8 safetensors.
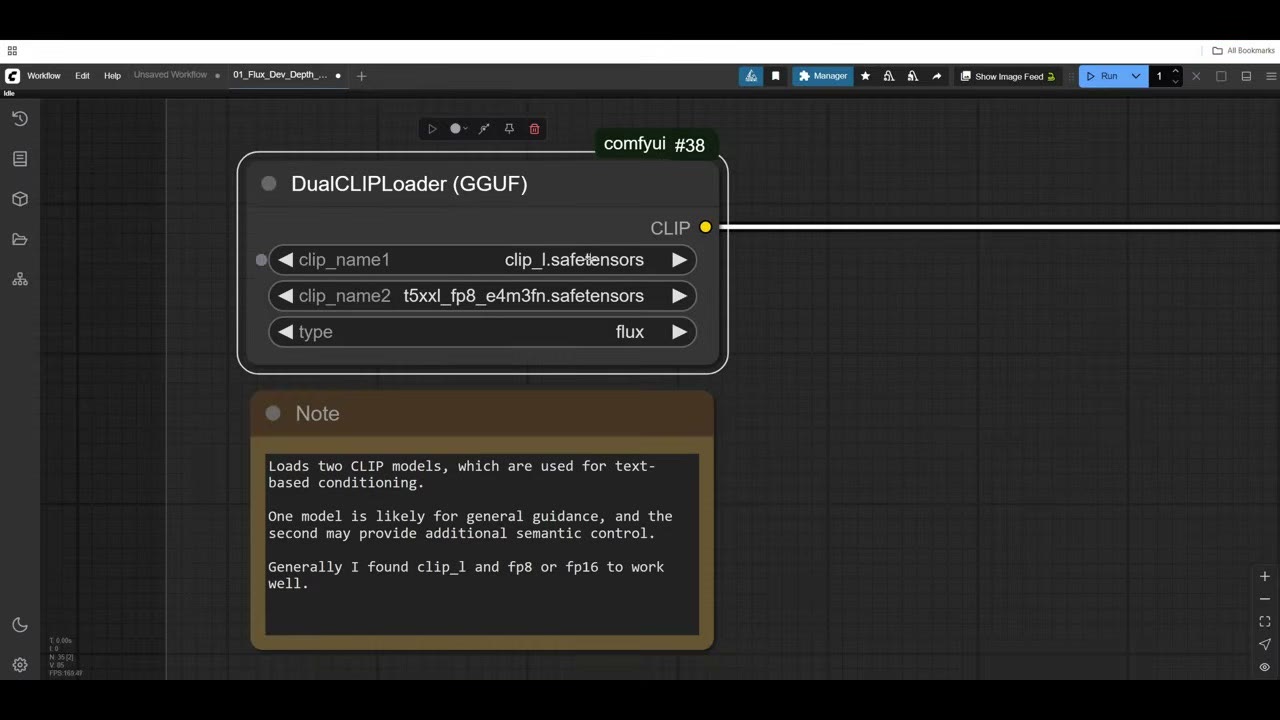
I renamed the CLIP Text Encode node to “Positive Prompt” so the graph reads clearly. Ask ChatGPT or Gemini to help write the prompt. It goes through Flux Guidance into the sampler’s conditioning. The negative prompt is connected too, but in Flux it isn’t subtracted from the positive the way it is in SDXL, so it has very little effect.
6. Sampler settings
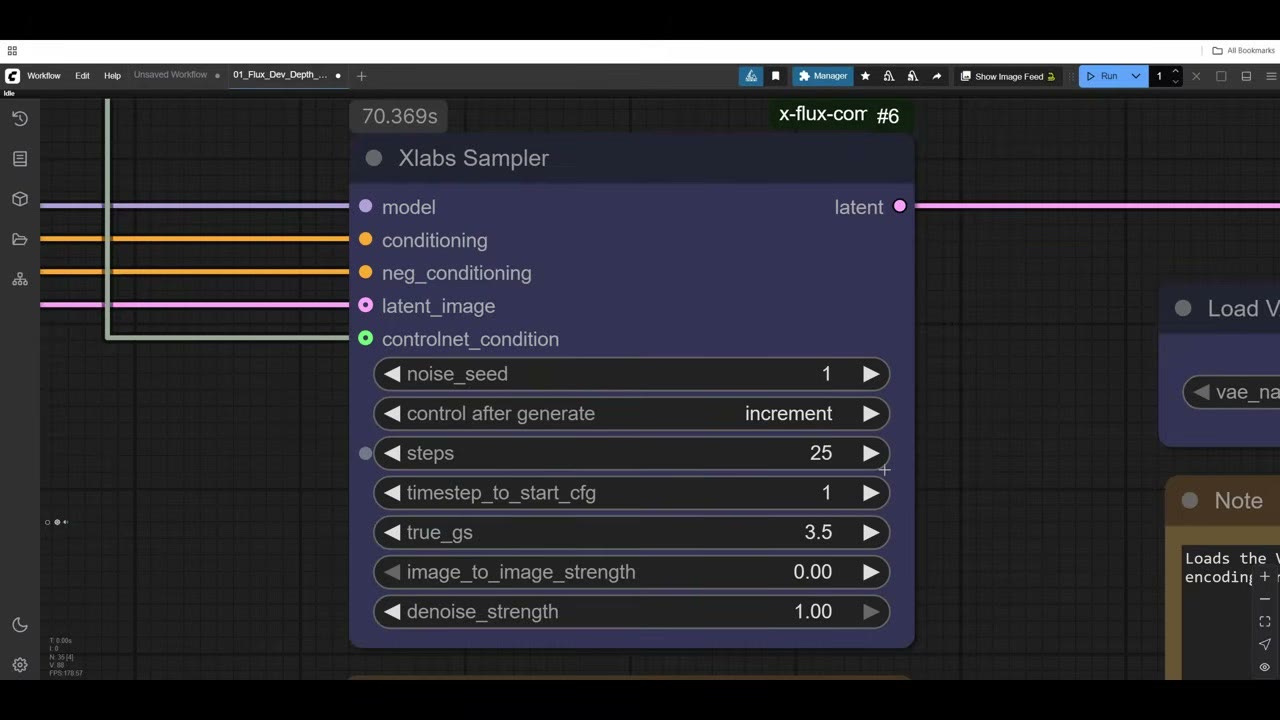
The XLabs Sampler:
- Seed: increment. The default random seed gives huge numbers. On increment, each image is one up from the last (1, 2, 3…), which makes them easy to track and to share: tell someone the seed and settings, and they can reproduce your image.
- Steps: 35. Anywhere from 20 to 50 works; above 50 is diminishing returns, slower with no better image. 35 gives me a nice image without too long a wait, since Flux is demanding.
- Everything else: leave it. Those settings can’t improve this result, but they can make it worse.
7. Decode and save
VAE Decode, with the Flux VAE (a small download from the Model Manager), turns the result from latent space into pixels. Save Image writes it with the prefix you set.
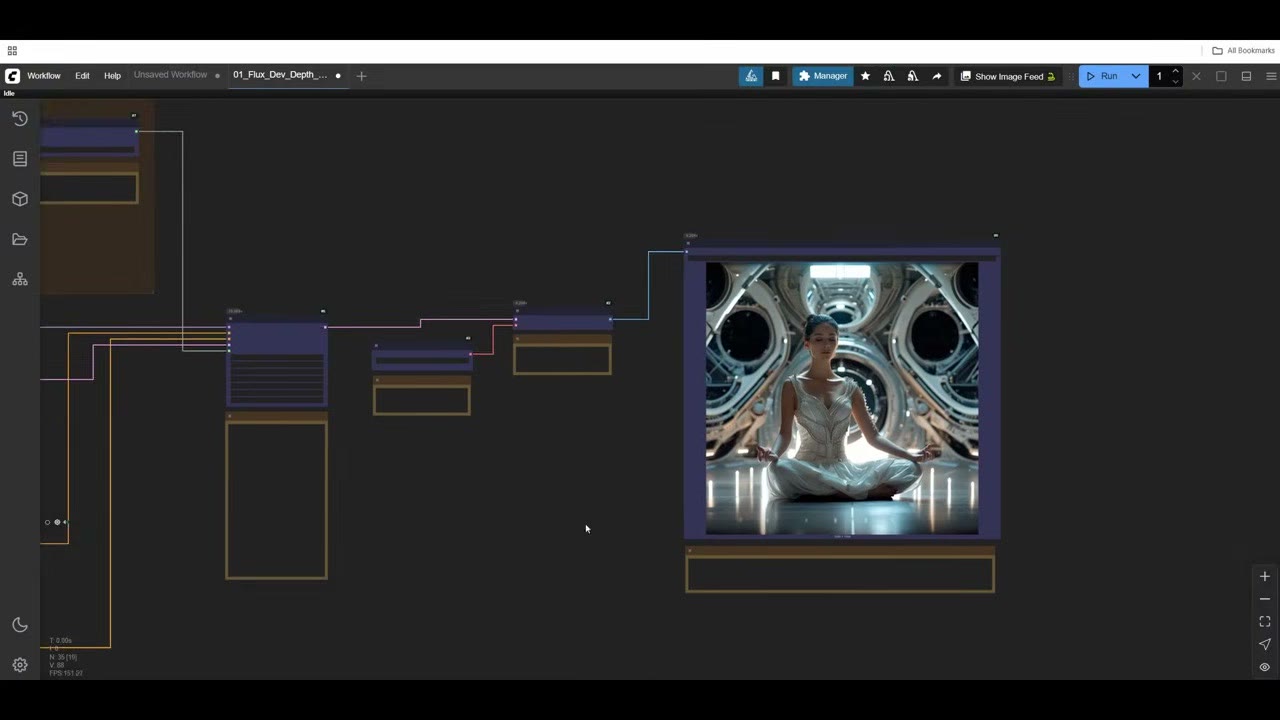
Hands are often the weak spot; I fix them with inpainting, covered in fixing AI hands. For running many sketches or photos at once, see batch concept art from photos.
No GPU? Run it in the cloud
This workflow is on RunComfy, already set up, with free trial minutes: no installation, just click and try it. These days I run my ComfyUI work on RunPod instead, which gives you a whole machine by the hour; my introduction to RunPod shows the setup.
The RunComfy link is a referral link, as is my RunPod referral link: new RunPod accounts that sign up with Google get $5–$500 in credit after their first $10, and I get a small commission.
Watch the video version (10:37)
Everything above is in the video too, if you'd rather follow along on screen.
FAQ
How much VRAM does Flux need for sketch to image?
At least 12 GB. With less, use the SDXL version of this workflow, which runs on 3–4 GB, or run Flux on a cloud GPU.
Why do some resolutions give glitches?
Images are compressed eight times into latent space, so sizes should be multiples of 8. An odd size like 1753 × 1753 sometimes works and sometimes glitches. Square sizes like 1024 × 1024 are the most reliable.
How can I get a better result from a rough sketch?
Help the depth model: fill in the silhouette with solid tone and sketch the hands properly. The depth map can only be as clear as the sketch.

Anton Tenitsky is a 3D artist with 15+ years in computer graphics, working with Nickelodeon, Gameloft, Marvel Rivals and many other clients. More about me