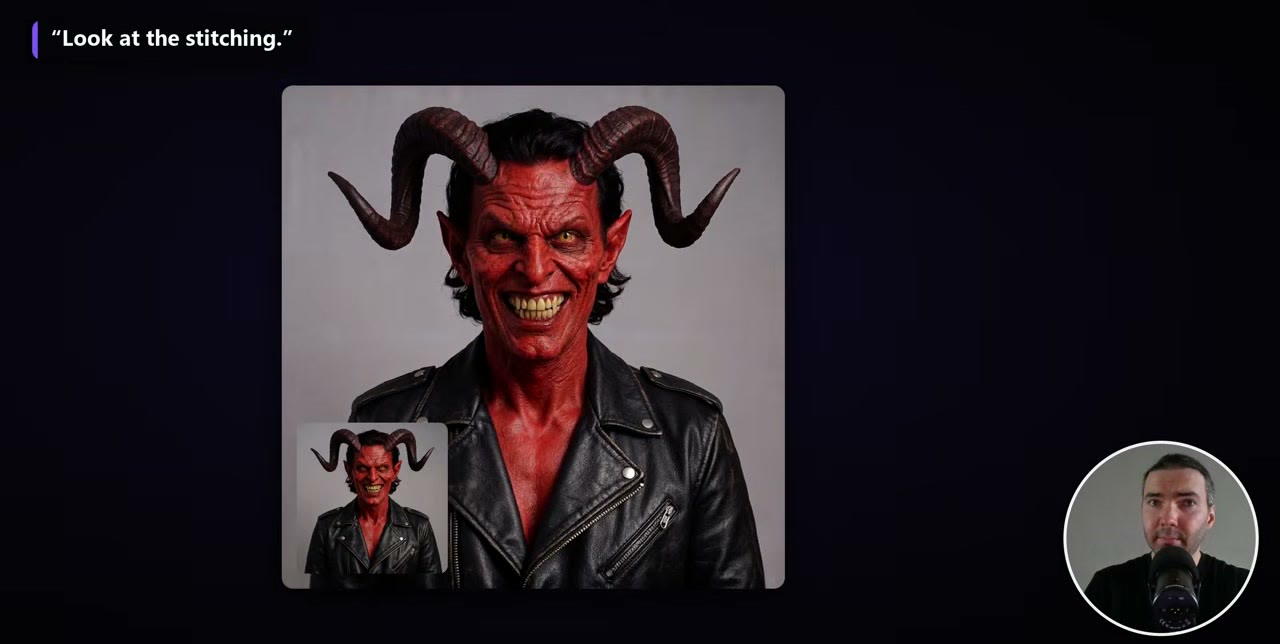
Status: Tested on RunPod. I used this template on RunPod for long avatar jobs, running it on several GPUs at once.
This workflow turns one photo and a voiceover into a talking avatar with lip sync, and keeps the face the same from start to finish, whether the video is 30 seconds or 50 minutes long. It runs LTX-2.5, Lightricks’ video-and-audio model, which ComfyUI supports natively.
Everything is on GitHub: the workflow, a small node pack and the setup script. You can run it locally for free if you have the GPU; the setup script lists every model to download, and a chatbot can turn it into install commands for your machine. I ran it on RunPod because I could put five or six GPUs on one project at the same time.
In short
- Input: one portrait and a voiceover of up to about 60 minutes.
- GPU: an RTX 5090 (32 GB) is what I recommend.
- Resolution: about 0.9 megapixels is the sweet spot. Lower and the lips start to stick together.
- How it works: the audio is cut at pauses into 3–12 second chunks; every chunk starts and ends on your portrait; a script stitches them with your original audio.
- Long jobs resume after a stop, on the same pod or another one.
What you need
- A portrait: a clear, front-facing photo.
- A voiceover of up to about 60 minutes. For anything longer, split it. Even then, I’d keep parts to about 30 minutes: 30 minutes of video takes a few hours to render on an RTX 5090.
- A GPU with 32 GB of VRAM, or a RunPod account.
- 80 GB of storage. The core models are about 39 GB, or about 47 GB with the optional prompt enhancer and temporal upscaler.
A tip for inputs: new Google Cloud accounts get $300 in free credits (that’s not a referral link). I made the portrait for this demo with Google’s Nano Banana image model and the voiceover with Google’s text-to-speech, all on those credits. Voice is so cheap that $300 covers a very large amount of it; images cost more. For thousands of images, my Z-Image template is the cheaper route.
Set up the pod
My introduction to RunPod covers the basics. For this template:
- Create a network volume of about 100 GB in a data center with plenty of GPUs. You can grow it later, and it’s billed by the hour while it exists, about $7 a month at that size on standard storage.
- Deploy the template. Open the template link, or search the public templates for “LTX 2.5 consistent avatar”. Attach your volume.
- Pick a GPU. I recommend an RTX 5090. An RTX 4500 works but is slow.
- Wait for the first boot, 10–15 minutes while it downloads the models. Later boots on the same volume start much faster.
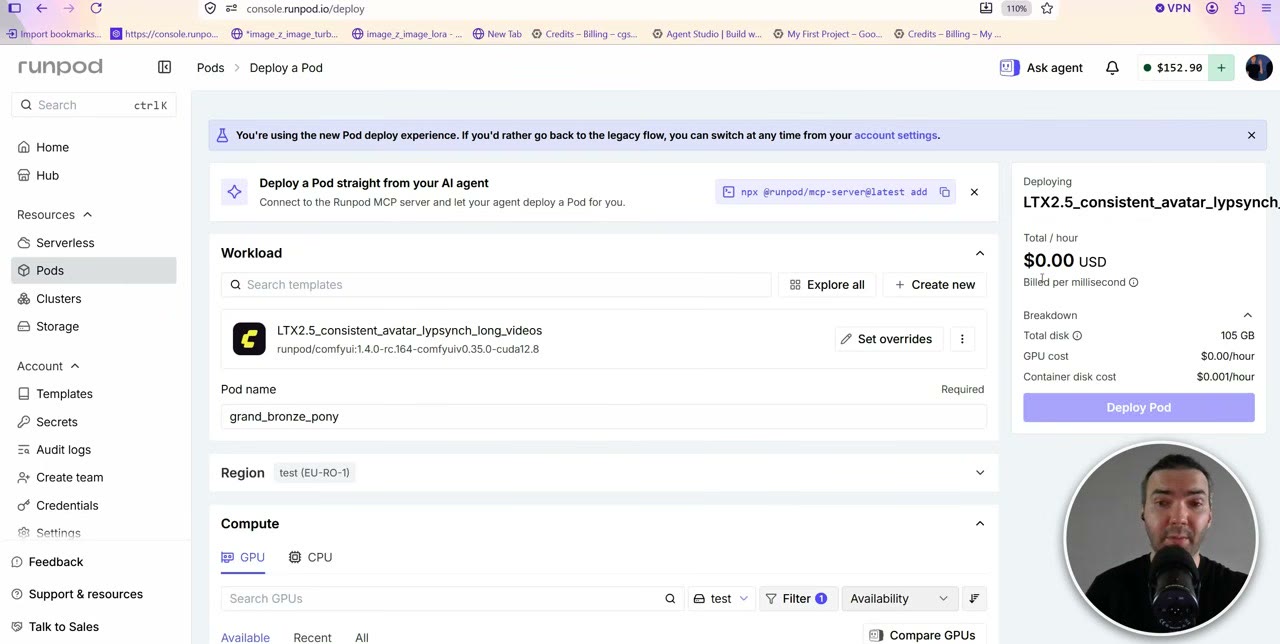
Optional but recommended: the official LTX-2.5 weights on Hugging Face are licence-gated. Accept the licence on the model page, create a read token in your Hugging Face settings, and add it to the pod as the environment variable HF_TOKEN. Without it, the template falls back to a public mirror, but anonymous downloads are rate-limited and the 40+ GB download can slow to a crawl.
When it’s ready, the pod’s Connect menu shows ComfyUI and JupyterLab. JupyterLab sometimes says “initializing” when it’s already working, so just open it.
The workflow
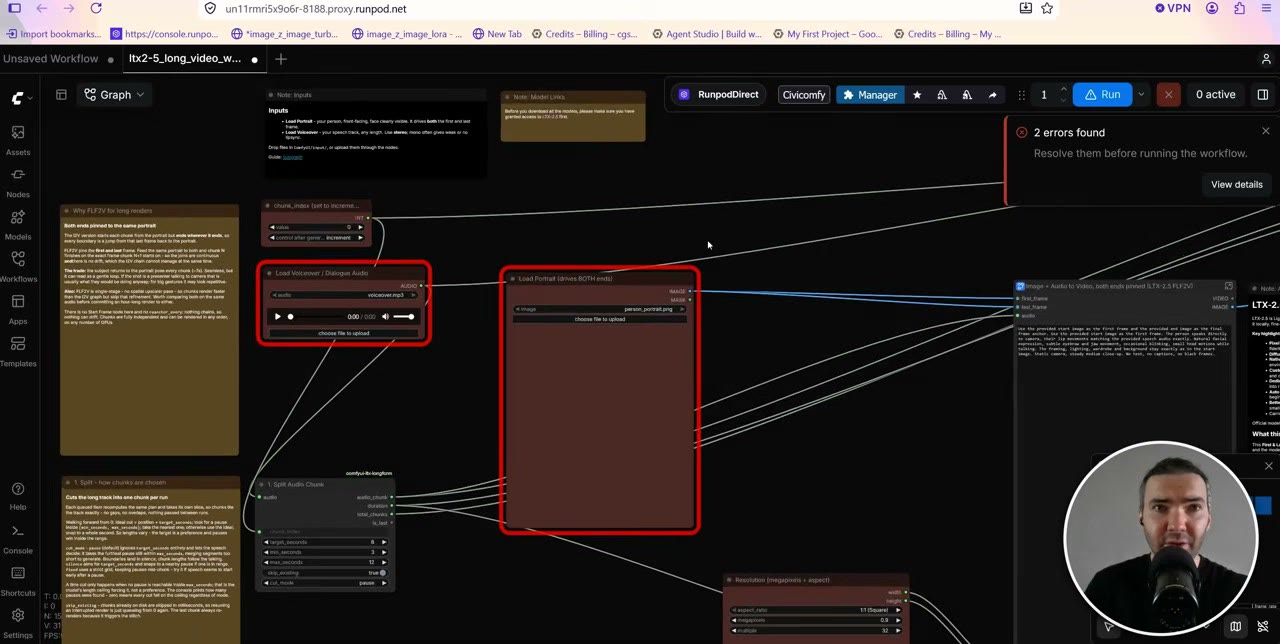
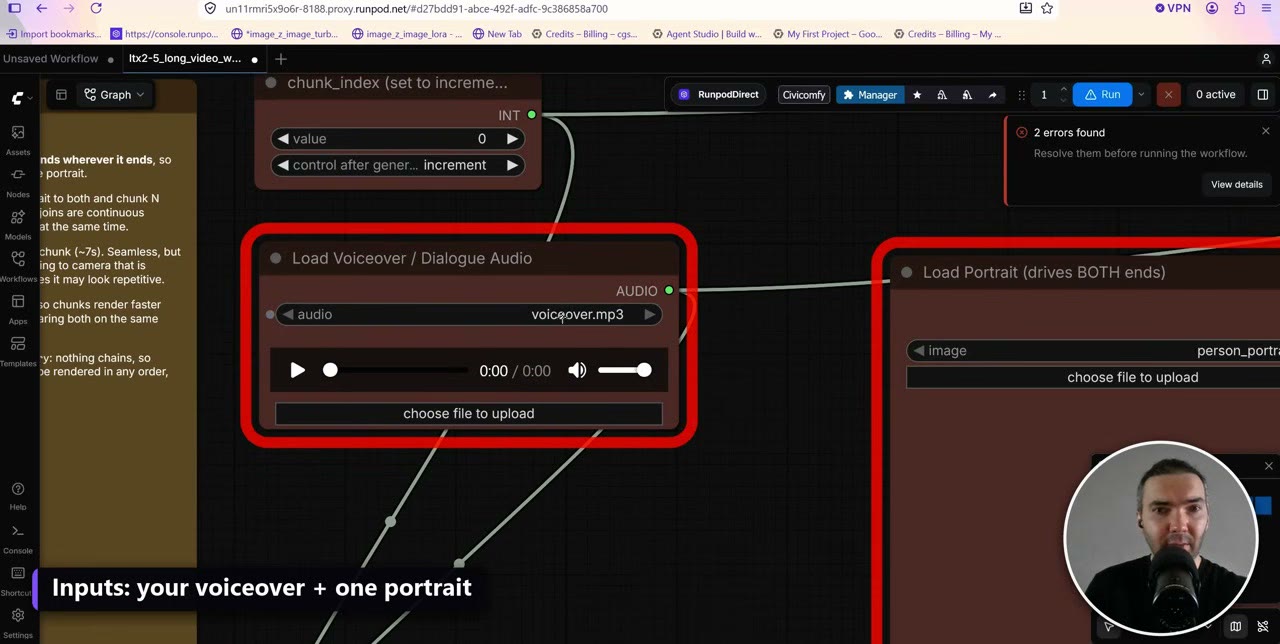
The template installs one workflow into ComfyUI’s Workflows sidebar: ltx2-5_long_video_workflow. It looks simple on the surface; the mechanics are inside a subgraph you can open by double-clicking it. You don’t need to touch those. The nodes you set are the ones outlined in red.
1. Inputs
Load your voiceover and your portrait into the two red input nodes. After uploading a new file through JupyterLab, reload ComfyUI so it shows up in the dropdowns.
2. Prompt
The workflow comes with a neutral talking-head prompt: the person talks and looks at the camera without odd movement. You can write your own, but the default works for presenter-style videos.
3. Resolution
The resolution node works in megapixels, with an aspect ratio. I mostly rendered squares at 0.9 megapixels. If you always render widescreen, change it once and save the workflow, or switch the megapixel option off and type exact dimensions.
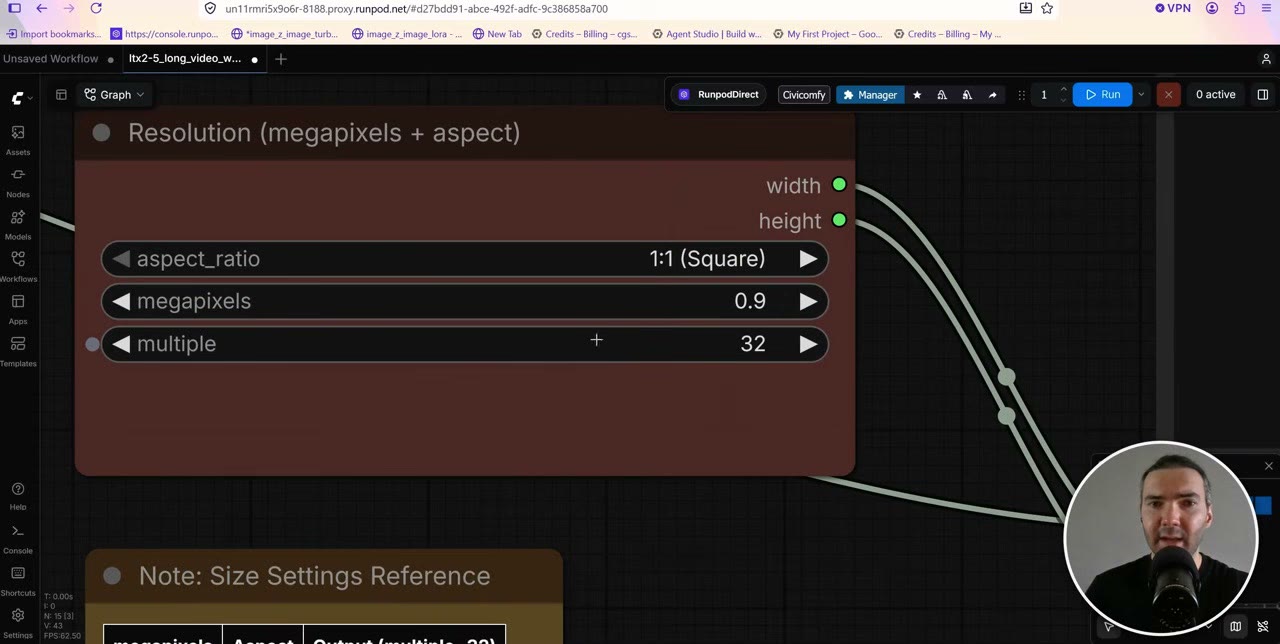
Resolution affects the mouth more than anything else. At around 500 × 500, and even at 600 or 700 pixels square, quality drops in a specific way: the lips stick together and the mouth barely moves. 0.9 megapixels is the sweet spot for me. Higher looks even better but takes longer.
How it keeps the face consistent
LTX-2.5 can only generate about 10–12 seconds at a time. Push it further and it drifts into glitches. So the workflow does three things.
The first and last frame are always your portrait. Every chunk starts and ends on the same image, with the same neutral expression. The avatar talks, returns to neutral, and starts again, which looks natural for a presenter. Because both ends are fixed, the face can’t drift over a long video. (Using different last frames is possible, but then you’re making a film, which is a different job.)
The audio is cut at pauses. The Split Audio Chunk node looks for gaps in speech and cuts there, aiming for 8 seconds, never shorter than 3 or longer than 12. A 7-second stretch between two pauses becomes a 7-second chunk.
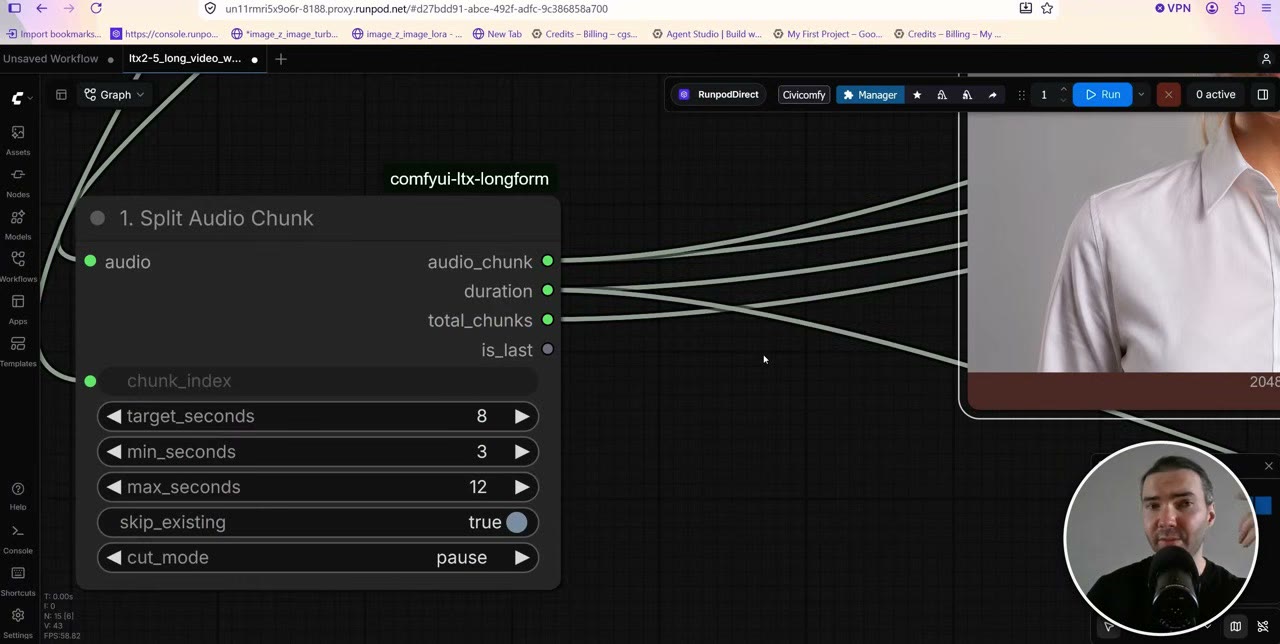
A script stitches it back together. The “image” output in the workflow is misleading: the result is a video. A stitching script that ships with the template joins the chunks, trims the extra frame LTX adds to each one (otherwise the audio slips by about 2 seconds over 7 minutes), and lays your original audio over the result rather than the model’s reconstruction of it.
There’s one artifact to know about: at each join, the noise pattern changes slightly. It’s visible if you look for it. I was happy to live with it for presenter videos, but it’s the main thing MiniMax H3 improved on.
Output and file names
Everything lands in ComfyUI’s output folder: a folder of chunks and the finished video. By default, the name of your audio file becomes both the project folder and the final video’s name, so avatar-female-2.mp3 gives you an avatar-female-2 chunk folder and a matching final video. When you render a hundred files, that’s much easier than numbered sessions. If you’d rather name sessions yourself, disconnect the name input and type a session name.
Run it, and what to do when it stalls
Queue with Run (Instant) and keep the console open: it reports how many chunks there are and which one it’s on. The first chunk takes longer while the models load.
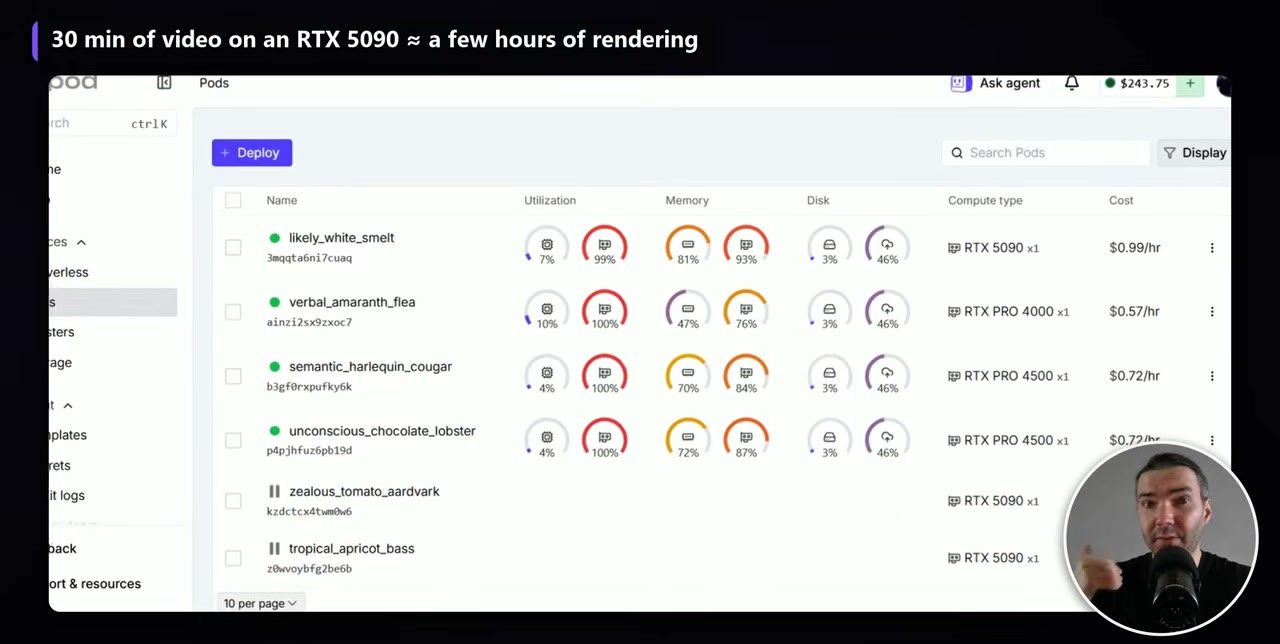
Long renders sometimes stop for no visible reason. For me it happened anywhere from two to six hours into a job. The fix:
- Open the ComfyUI Manager and click Restart.
- Reload ComfyUI in your browser.
- Queue again. Finished chunks are skipped, so it carries on where it stopped.
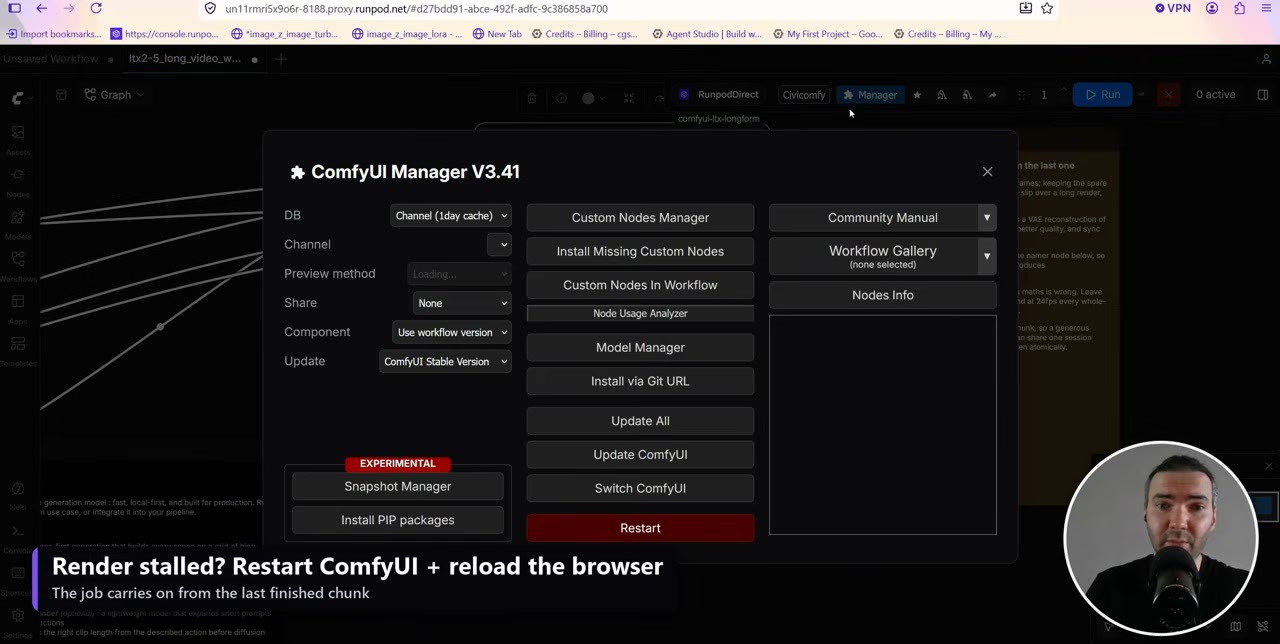
The same resume works the next day or on another pod: attach the same network volume and queue again.
Mistakes to avoid
- Resolution too low. Under about 0.9 megapixels, mouth movement suffers first.
- One enormous file. Keep voiceovers to about 30 minutes per job.
- No Hugging Face token. The download works without one, but slowly.
- Giving up on a stalled render. Restart, reload and requeue; nothing is lost.
The template link is a RunPod referral link, as is this one: new accounts that sign up with Google get $5–$500 in credit after their first $10, and I get a small commission.
Watch the video version (11:36)
Everything above is in the video too, if you'd rather follow along on screen.
FAQ
How long can an LTX-2.5 talking avatar video be?
One LTX-2.5 generation is limited to about 10–12 seconds, but the workflow cuts your voiceover into chunks and stitches them, so the input can be up to about 60 minutes. For very long videos, split the audio into parts of about 30 minutes.
What resolution should I use for LTX-2.5 lip sync?
About 0.9 megapixels. Below roughly 700 × 700 the quality drops: the lips start to stick together and the mouth barely moves. Higher looks better but renders slower.
Which GPU do I need?
I recommend an RTX 5090 with 32 GB of VRAM. The template’s README lists 48 GB cards as comfortable and 24 GB as workable with the int8 files it downloads, at moderate resolutions.
Why does my long render stop after a few hours?
It happened to me after anywhere from two to six hours. Restart ComfyUI from the Manager, reload the browser and queue again: the job carries on from the last finished chunk.

Anton Tenitsky is a 3D artist with 15+ years in computer graphics, working with Nickelodeon, Gameloft, Marvel Rivals and many other clients. More about me